How to Make Rosettes from Ribbon for Beginners

Making a ribbon rosette is one of those wonderfully satisfying crafts. At its heart, it’s a simple process: you’ll take a length of ribbon, stitch along one edge, and then gently pull the thread to gather the fabric into a lovely circular flower. A few final stitches to join the ends and secure the back, and you've transformed a simple strip of ribbon into a stunning embellishment.
It’s a rewarding skill that can elevate so many projects, from gift wrapping to home décor.
Your First Steps into Ribbon Rosette Crafting

Welcome to the wonderful world of ribbon rosettes! This guide is all about breaking down the process into easy, achievable stages, making it perfect even if you’re a complete beginner. We'll start by looking at the essential materials and tools you'll need – you probably have most of them tucked away in a craft box already.
You'll quickly see how your choice of ribbon—its material, colour, and width—can completely change the look and feel of your final design. A simple piece of fabric can become a show-stopping decoration for a special gift, a prize-winning award, or a charming accent for your home.
Joining a Thriving Craft Community
By starting this creative journey, you’re also joining a vibrant and ever-growing community of makers. The UK crafts industry has seen incredible growth, turning over around £400 million annually in recent years. That figure more than doubled in just a decade! This boom is driven by a real passion for handmade goods right here at home, with about 90% of that revenue generated in the UK. You can read more about this flourishing sector in this in-depth crafts industry report.
Our goal here is to build your skills and confidence from the ground up. By the time you finish this guide, you’ll feel ready and excited to create your very first rosette. We’re going to cover everything you need to know, including:
- How to select the perfect ribbon for any project.
- Mastering a classic hand-stitching technique for a durable finish.
- Adding those professional final touches that make all the difference.
Learning this skill allows you to add a personal, handmade touch to countless items and occasions. It’s a delightful and practical craft to have in your repertoire, whether you’re a seasoned pro or just starting out. If you're looking for some pre-made inspiration or handy kits to get you started, you might also love our collection of handmade ribbon bows and roses.
What You'll Need to Get Started
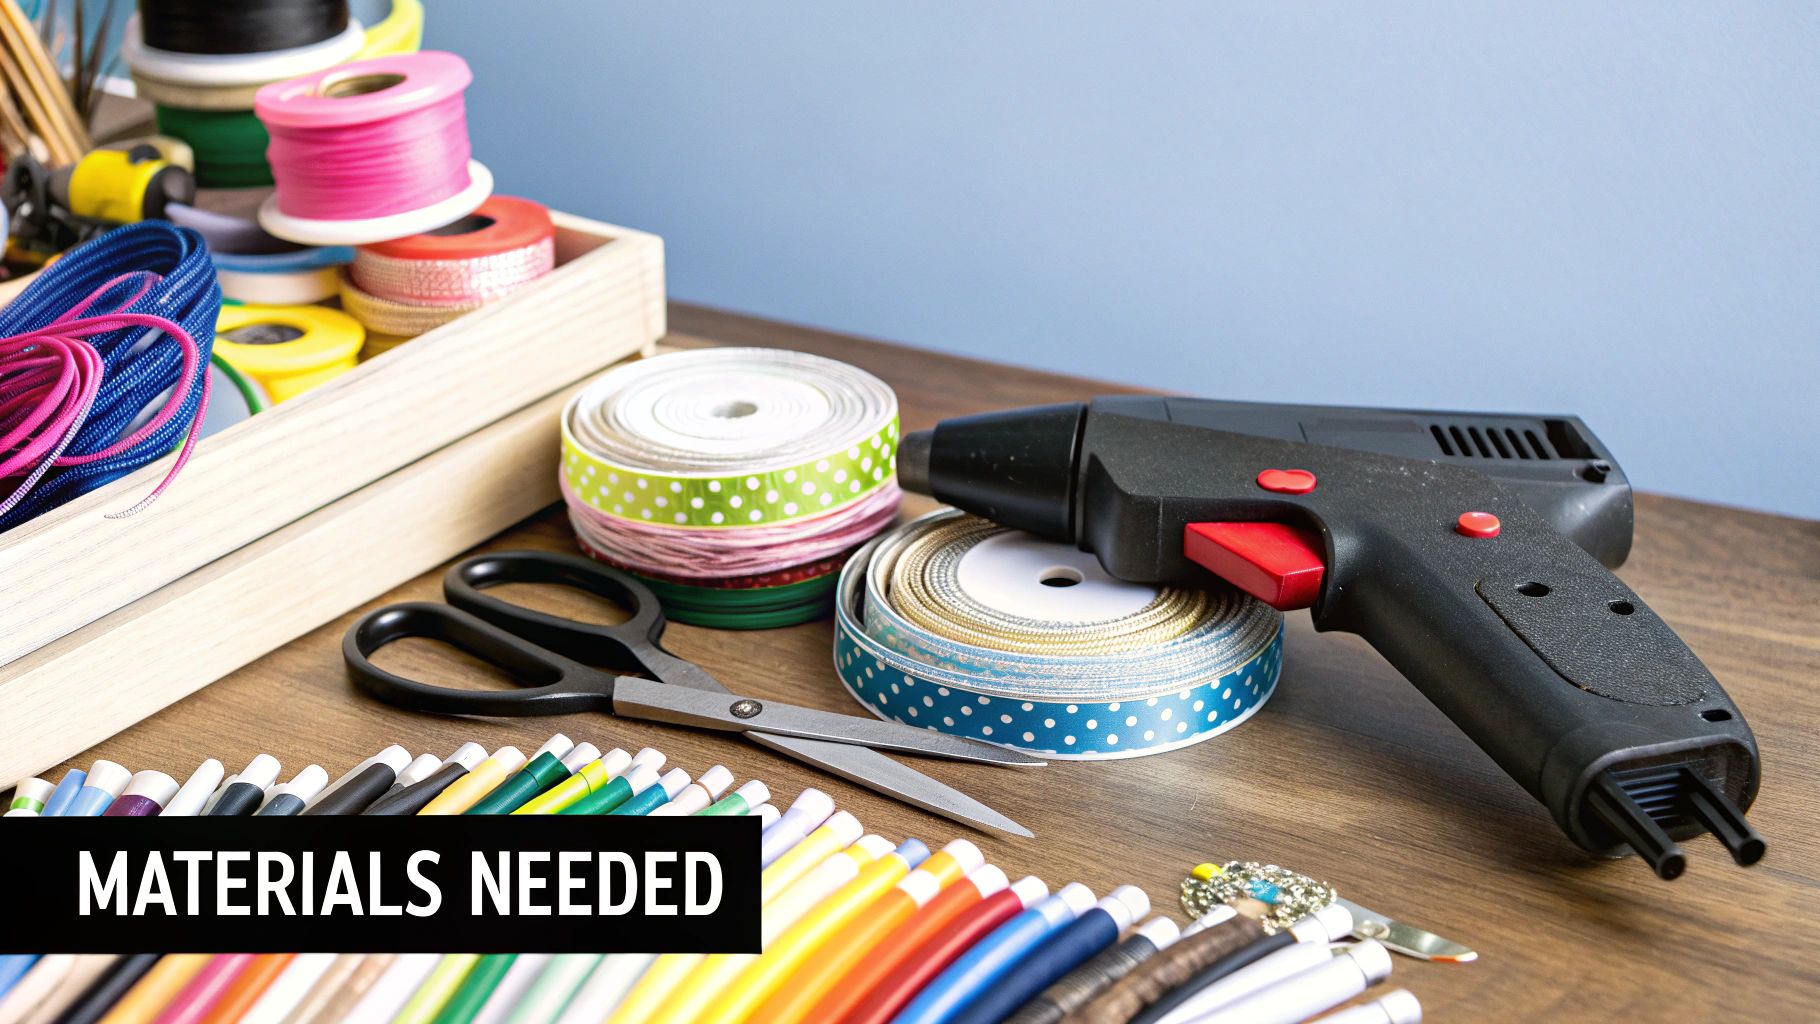
Before we jump into the fun part of making rosettes, let's get our crafting space set up. Honestly, having everything you need within arm's reach is the secret to a smooth, enjoyable session. It just stops that annoying hunt for the scissors mid-project and lets you stay in the creative zone. The best part? You probably have most of these bits and bobs already.
Of course, the star of the show is the ribbon. The type you pick will completely change the look and feel of your finished rosette. For a classic, smart-looking award rosette, you can't go wrong with a satin ribbon and its lovely sheen. If you're making something a bit more festive, like toppers for gifts, grosgrain ribbon is fantastic because it has more body and a nice ribbed texture. For a touch of luxury or a vintage vibe, velvet is an absolutely beautiful choice.
My Top Tip: If you're new to making rosettes, I always suggest starting with a ribbon that's about 2.5cm to 4cm (that's around 1 to 1.5 inches) wide. It's just the right width to handle easily, and it creates lovely, full gathers without being too flimsy or too bulky to work with.
Choosing the Right Ribbon for Your Rosette Project
Your ribbon choice really does set the entire mood for your project. Don't just think about the colour; the material's weight and texture play a huge part in the final result. To make it a bit easier, here’s a quick rundown of some popular choices.
| Ribbon Type | Characteristics | Best For | Ease of Use |
|---|---|---|---|
| Satin | Smooth with a high sheen; very flexible. | Formal awards, elegant gift wrap, wedding décor. | Easy to gather, but can be slippery. |
| Grosgrain | Ribbed texture with a matte finish; holds shape well. | Prize ribbons, hair bows, durable decorations. | Excellent; its structure makes pleating simple. |
| Velvet | Plush, soft texture with a rich appearance. | Christmas ornaments, luxurious gift toppers, vintage projects. | Moderate; its thickness requires a sturdy needle. |
I find this little chart helps me decide which direction to go in, especially when I'm trying to match the ribbon to a specific occasion or look.
Your Essential Crafting Toolkit
Aside from the ribbon, you'll only need a few other basic tools to bring your rosette to life.
A really sharp pair of fabric scissors is a must-have. It’s the only way to get those clean, professional cuts that don't fray. You'll also want a needle and some strong thread if you're going for the classic hand-stitched method—this gives the most durable and polished finish, in my experience.
If you're short on time or just prefer a quicker method, a hot glue gun is a lifesaver for assembly and for attaching the backings. And speaking of backings, small circles of felt or cardstock are perfect for creating a neat and sturdy base for your rosette. This hides any stitching and gives you a nice flat surface to add a pin or clip later on.
If you need to stock up your crafting box, you can find a wonderful selection of craft items, glues, and accessories to get you all set up.
Crafting the Classic Hand-Stitched Rosette
This is where a simple length of ribbon really starts to shine. We're going to walk through the traditional, foundational method for making a beautiful, durable rosette entirely by hand. Don't think of this as a rigid set of instructions; it's more about getting a feel for how the ribbon naturally wants to gather and form a circle. It’s a timeless technique, and once you get the hang of it, you’ll find yourself using it time and time again.
First things first, let's talk about how much ribbon you'll need. One of the most common mistakes I see is skimping on the ribbon, which always leads to a sparse, rather sad-looking rosette. A great rule of thumb is to use a length of ribbon that is at least eight to ten times the diameter you want your finished rosette to be. For example, if you're aiming for a classic 4cm prize ribbon, you'll want a piece of ribbon that's at least 40cm long.
The Gentle Art of the Running Stitch
With your ribbon cut to size, thread your needle. It's best to use a strong thread that either matches or complements your ribbon's colour. Tie a good, secure knot at the end.
Now, you'll be sewing a simple running stitch all the way along one of the long edges of your ribbon. I find it easiest to keep my stitches roughly 5-6mm apart and about 3mm in from the edge. Consistency is great if you can manage it, but don't obsess over perfection here. The gathers are very forgiving and will hide any minor wobbles.
Keep stitching the entire length of the ribbon. The crucial thing here is not to pull the thread tight just yet! Let the ribbon lie flat until you’ve stitched right to the very end. This simple step stops it from getting into a tangled mess and gives you much more control when it's time to gather.
The real secret to beautiful, even gathers is to pull the thread gently and consistently. Instead of one big, forceful tug, you want to coax the ribbon into its circular shape. Guide the pleats with your fingers as they begin to form. This little bit of patience makes all the difference.
As you slowly pull on the thread, you'll see the ribbon magically begin to concertina and form a circle. Keep guiding it with your hands until the two raw ends of the ribbon meet up.

Securing Your Handiwork
Once you have a neat circle, it's time to make it permanent. This is the stage where a project can quite literally unravel!
Holding the gathered circle firmly in place, stitch the two raw ends of the ribbon together. I always make two or three passes with my needle just to be absolutely sure they're joined securely.
To finish, pass your needle through a few of the central gathers on the back of the rosette a couple of times and tie a strong, final knot. Snip your thread close, and that's it! You've created a perfectly formed, hand-stitched rosette, ready for its moment in the spotlight.
Exploring Creative Rosette Designs and Variations
Once you’ve got the hang of the classic stitched rosette, the real fun begins. This is where you can let your creativity run wild and start personalising your designs. A fantastic and simple way to start is by experimenting with layering different rosettes to create a much richer, more dimensional effect.
For a really striking look, try stacking rosettes of different sizes and colours. Picture this: a wide, 5cm navy blue grosgrain rosette forming a beautiful base for a smaller, 3cm white satin one perched on top. It’s a technique that works brilliantly for prize ribbons at a local dog show or for elegant gift toppers at a bridal shower.
Quick No-Sew Rosettes and Intricate Folds
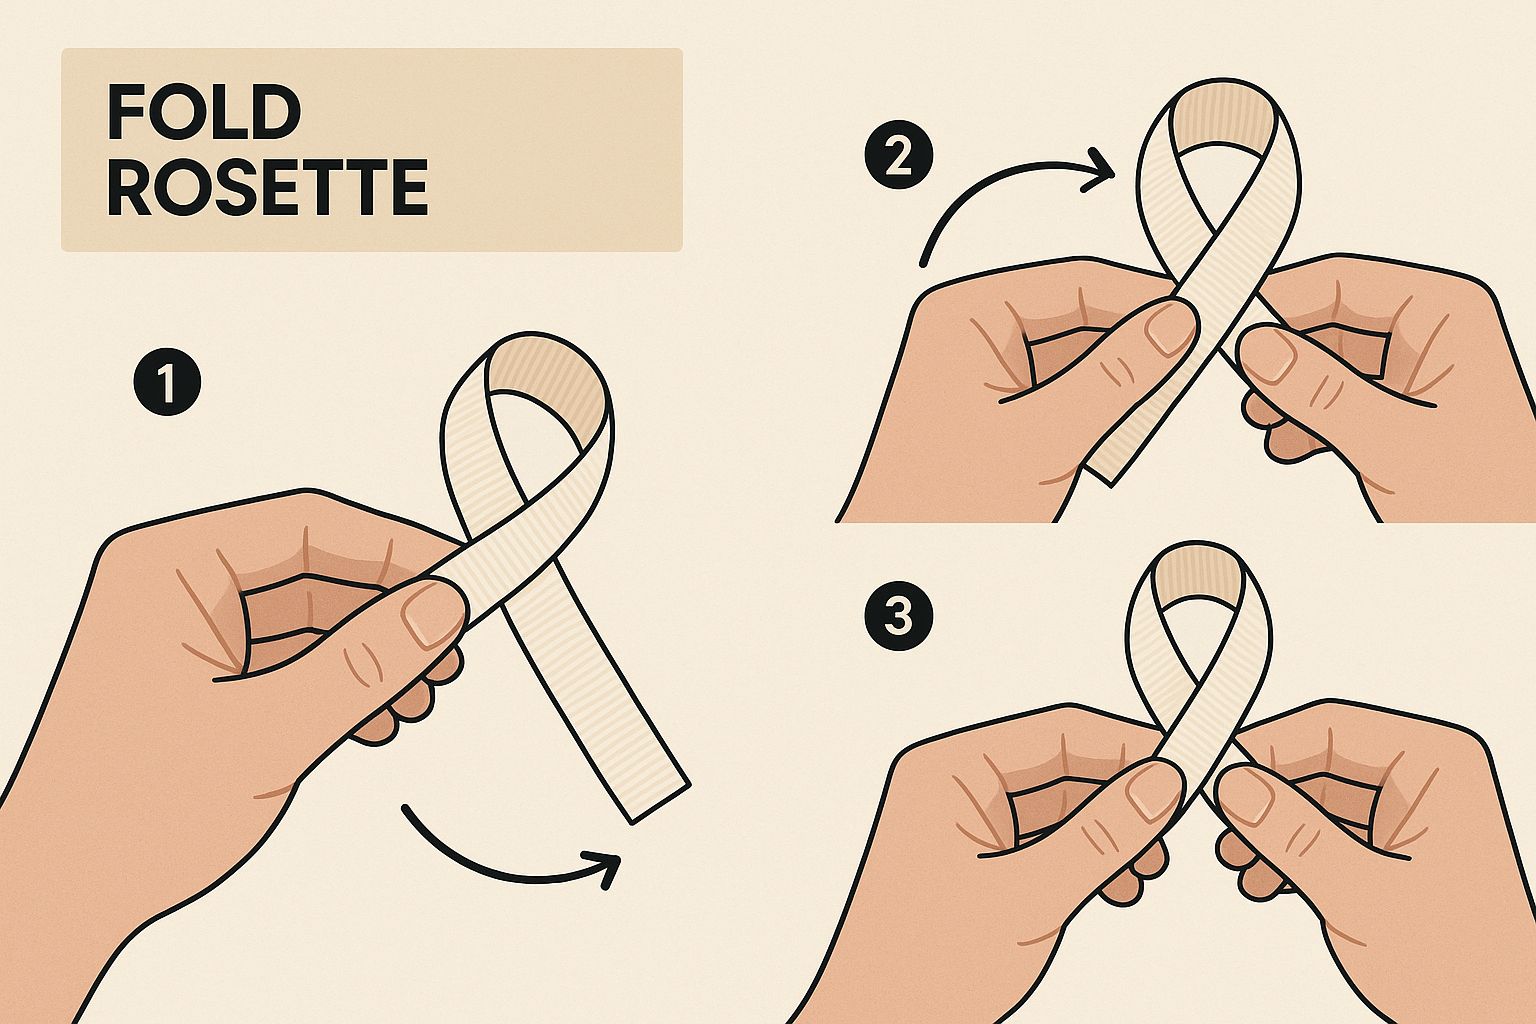
Let's be honest, sometimes you just don't have the time for needle and thread. For a quick, no-sew alternative, your hot glue gun is about to become your best friend. Instead of sewing a running stitch, you create sharp pleats by hand, securing each fold with a tiny dot of hot glue. It's a much faster method, and an absolute lifesaver when you're crafting in bulk.
When you're ready to add more texture and detail, you can move beyond simple gathers. Creating pointed or ‘petal’ style rosettes gives a gorgeous, intricate floral look. These styles often rely on specific folding techniques rather than a simple running stitch. If you enjoy making these kinds of floral shapes, you’ll probably love our guide on how to create beautiful ribbon flowers.
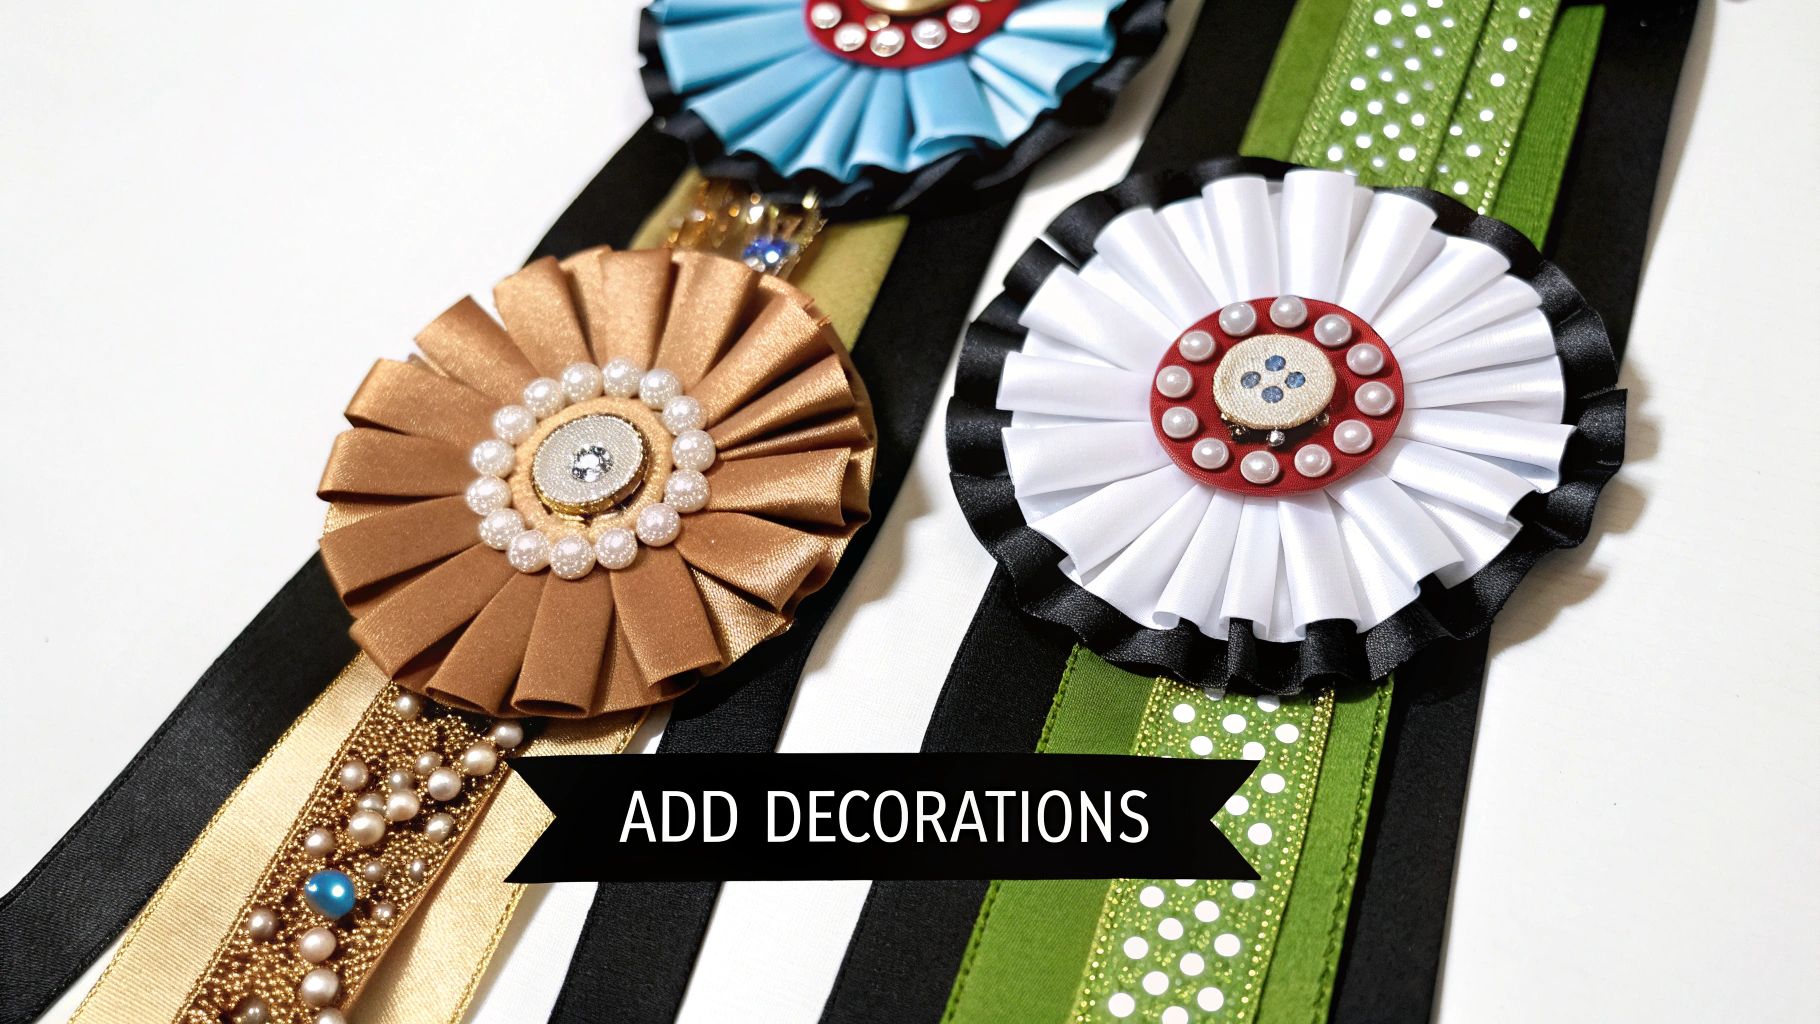
A simple way to elevate any rosette is through embellishment. Adding a vintage button, a cluster of sparkling beads, or even a custom-printed centre with a monogram can transform your creation from a simple craft into a cherished keepsake.
Keeping Traditional Crafts Alive
Learning how to make rosettes from ribbon is more than just a hobby; it’s a wonderful way of connecting with a long heritage of handcrafts. Sadly, many traditional UK crafts are facing an uncertain future. According to the Heritage Crafts charity, 56 crafts were classified as critically endangered in 2021, a stark reminder of a decline in skilled practitioners and training opportunities.
Every rosette you make is a small but meaningful act that helps keep these valuable skills alive for the next generation. You can discover more about the endangered crafts list and understand just how important it is to keep these traditions going.
Adding Professional Finishing Touches

This is where your project goes from a simple homemade craft to a handmade treasure. The final details—a sturdy backing and some elegant finishing touches—are what make your rosette durable, presentable, and ready for any occasion. It’s the last, crucial step in our journey of how to make rosettes from ribbon.
A solid backing is a non-negotiable for me. It gives the rosette stability, helps it lie flat, and neatly hides any messy stitching or glue marks on the back. Just cut a small circle from felt or cardstock, making it slightly smaller than your rosette’s diameter, and secure it firmly with a hot glue gun.
Creating Tails and Attaching Hardware
If you're making prize rosettes, you'll want to add some elegant ribbon tails. I like to cut two or three lengths of ribbon, trimming the ends into a classic ‘V’ shape or a sharp diagonal for that really professional look. You can then simply glue these directly onto the backing before you attach it to the rosette itself.
Next, think about how your rosette will be used. A simple safety pin can be stitched or glued onto the felt back, which is quick and easy. For a more polished finish, I prefer using dedicated brooch pin-backs. If you’re making hair decorations, alligator clips are fantastic and hold really well.
Key Takeaway: The quality of your finish directly reflects the care you've put into the entire piece. A clean backing and well-chosen hardware are what make your rosette look truly complete and ready to be gifted, sold, or worn with pride.
And believe me, there's a real appetite for items like these. Back in 2019, an impressive 73% of UK adults purchased handcrafted goods, which helped grow the market to a value of over £3 billion. This just goes to show how much people appreciate unique, handmade items—exactly like the rosettes you’re creating. You can discover more research about the UK craft market and see just how enthusiastic the consumer base is.
Of course, here is the rewritten section, crafted to sound like an experienced human expert and match the provided writing style.
Common Questions About Making Ribbon Rosettes
Even with the clearest instructions, you're bound to run into a little hiccup or two when you're first getting the hang of making rosettes. It happens to all of us! Let's walk through some of the most common snags crafters hit and get them sorted out.
How Much Ribbon Do I Need?
A great rule of thumb I've always followed is to use a ribbon length that is eight to ten times the final diameter you're aiming for. So, if you're making a sweet little 4cm wide rosette, you'll want at least 40cm of ribbon.
If you're after a really plush, luxurious look, don't be afraid to go longer. A more generous piece of ribbon will give you tighter, fuller pleats that look absolutely stunning.
What Is the Best Way to Stop Ribbon Fraying?
This one depends entirely on what your ribbon is made of. The trick is to know your materials.
- For synthetics like polyester or satin, carefully pass the cut end through a lighter's flame. You just want to gently melt the fibres to seal them. It takes a bit of practice, but it gives a perfect, clean edge.
- For natural fibres like cotton, heat is a no-go. Instead, a tiny dab of a fray-check sealant or even a clear-drying fabric glue along the raw edge works like a charm.
One of the biggest frustrations I hear about is a rosette that just won't lie flat. This almost always happens if you've pulled the gathering thread too tightly, causing the poor ribbon to buckle and pucker. Gather just enough to bring the ends together into a circle, and always secure it to a firm backing like felt or cardstock. Honestly, that backing is the secret to a professional, flat finish every single time.


 Facebook
 Twitter
 Pinterest