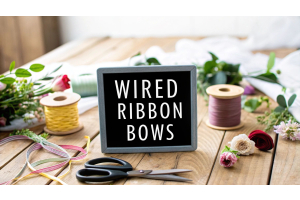
How to Make Wired Ribbon Bows: Easy Step-by-Step Guide
Making a beautiful wired ribbon bow is surprisingly simple once you get the hang of it. It’s all about creating loops, pinching them at the centre, and securing everything with a bit of floral wire. The real key is using the wire embedded in the ribbon's edges to shape full, professional-looking loops that hold their form beautifully. It’s a technique that can completely transform your gift wrapping, wreaths, and home decor.
The Secret to Stunning Bows Starts with Wire
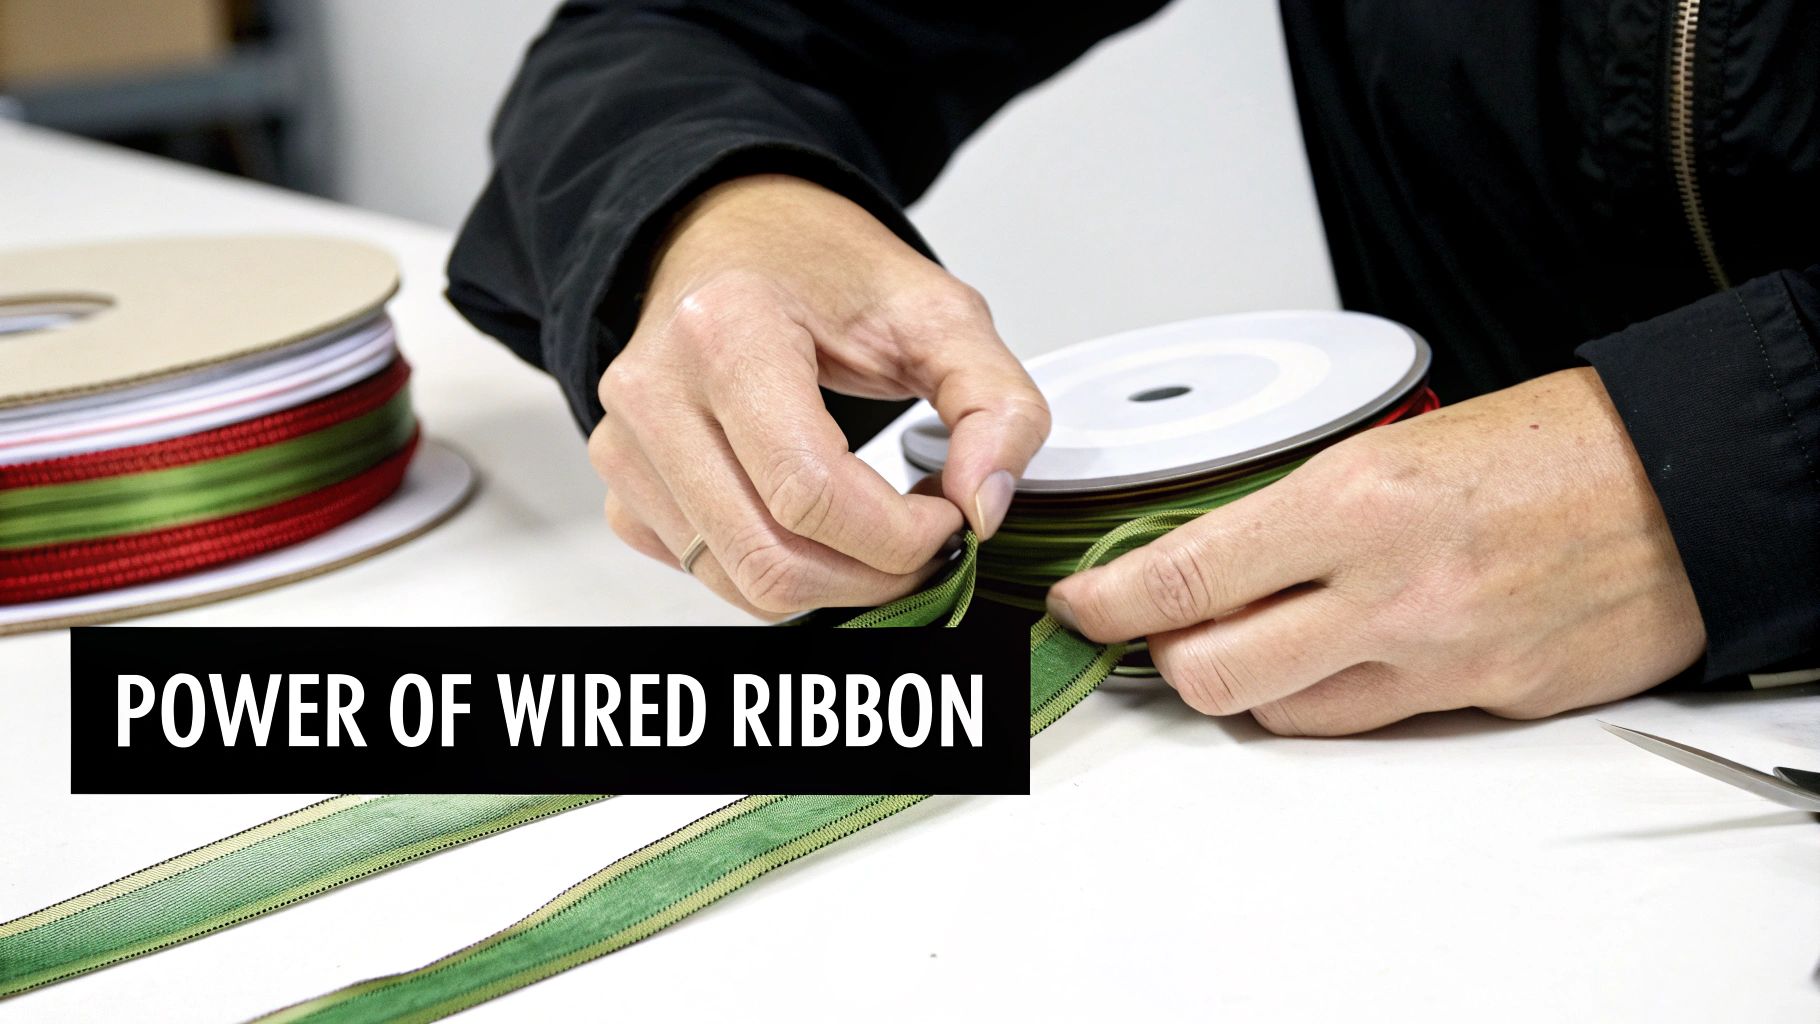 Have you ever wondered how some bows look so full and perfectly sculpted, almost as if they came straight from a professional display? The answer almost always comes down to one simple material: wired ribbon. It’s the crafter's secret weapon for creating decorations that look polished and high-end.
The magic is in the thin, flexible wire hidden along the edges of the fabric. This tiny structural element is what separates a floppy, disappointing bow from a fabulous one. Unlike regular ribbon that collapses under its own weight, the wire allows you to mould and shape each loop with precision. You can create volume, adjust the symmetry, and fluff the loops into a gorgeous, three-dimensional shape that won’t get squashed during transport or display.
Why Wired Ribbon Is a Game Changer
Mastering how to make wired ribbon bows is more than just another crafting skill; it’s a way to add a personal, luxurious touch to any project you can think of. This has become particularly popular here in the UK, where there’s a real and growing appreciation for handmade details.
In fact, the UK's craft sector now contributes over £3 billion annually to the economy. It's a clear sign that people are moving towards artisanal quality.
The ability to sculpt your bow means you have complete creative control. You're no longer just tying a knot; you're designing a decorative accent that holds its shape and adds lasting beauty.
This technique is also remarkably versatile. Once you know the fundamental steps, you can create bows for almost anything:
- Gift Wrapping: Turn a simple present into an unforgettable gift.
- Wreath Decorating: Add a full, welcoming bow to your front door for any season.
- Home Decor: Adorn lanterns, garlands, or chair backs for special events.
- Christmas Tree Toppers: Create a stunning centrepiece for your holiday tree.
By choosing from the vast array of beautiful wired ribbons available, you can tailor your creations to any colour scheme or theme. Forget flimsy, frustrating results; this guide will show you how to achieve beautiful, lasting bows every single time.
Choosing Your Materials for Flawless Bows
The secret to any gorgeous wired ribbon bow isn't in some complicated folding technique—it starts right at the beginning with your materials. Before you even think about making a single loop, picking out the right ribbon and tools will make the whole process a dream. It’s the difference between a bow that looks a bit sad and one that’s sturdy, beautiful, and perfect for what you need it for.
This isn’t just about grabbing a pretty colour off the shelf. The fabric, the width, and even your scissors play a huge part in how your bow turns out. Nailing these choices upfront is the first real step in learning how to make wired ribbon bows that look like they came from a professional.
Selecting the Perfect Ribbon
The ribbon you pick sets the whole personality of your bow. A rustic burlap wired ribbon is absolutely brilliant for those farmhouse-style wreaths, while a plush velvet ribbon brings a touch of class to Christmas gifts. Satin, with its lovely subtle sheen, is a classic, versatile choice for weddings and other special occasions. Each material has its own character and behaves differently when you start folding and shaping it.
The width is just as important. You’ve got to think about the scale of your project:
- Narrow Ribbons (2.5 cm - 4 cm): These are your go-to for smaller jobs. Think accenting gift bags, decorating little presents, or weaving delicate bows into floral arrangements.
- Wide Ribbons (6 cm - 10 cm): Now these make a statement. Use them for big, beautiful wreaths, stunning Christmas tree toppers, or draping down a stair bannister.
This handy infographic breaks down the key things to consider.
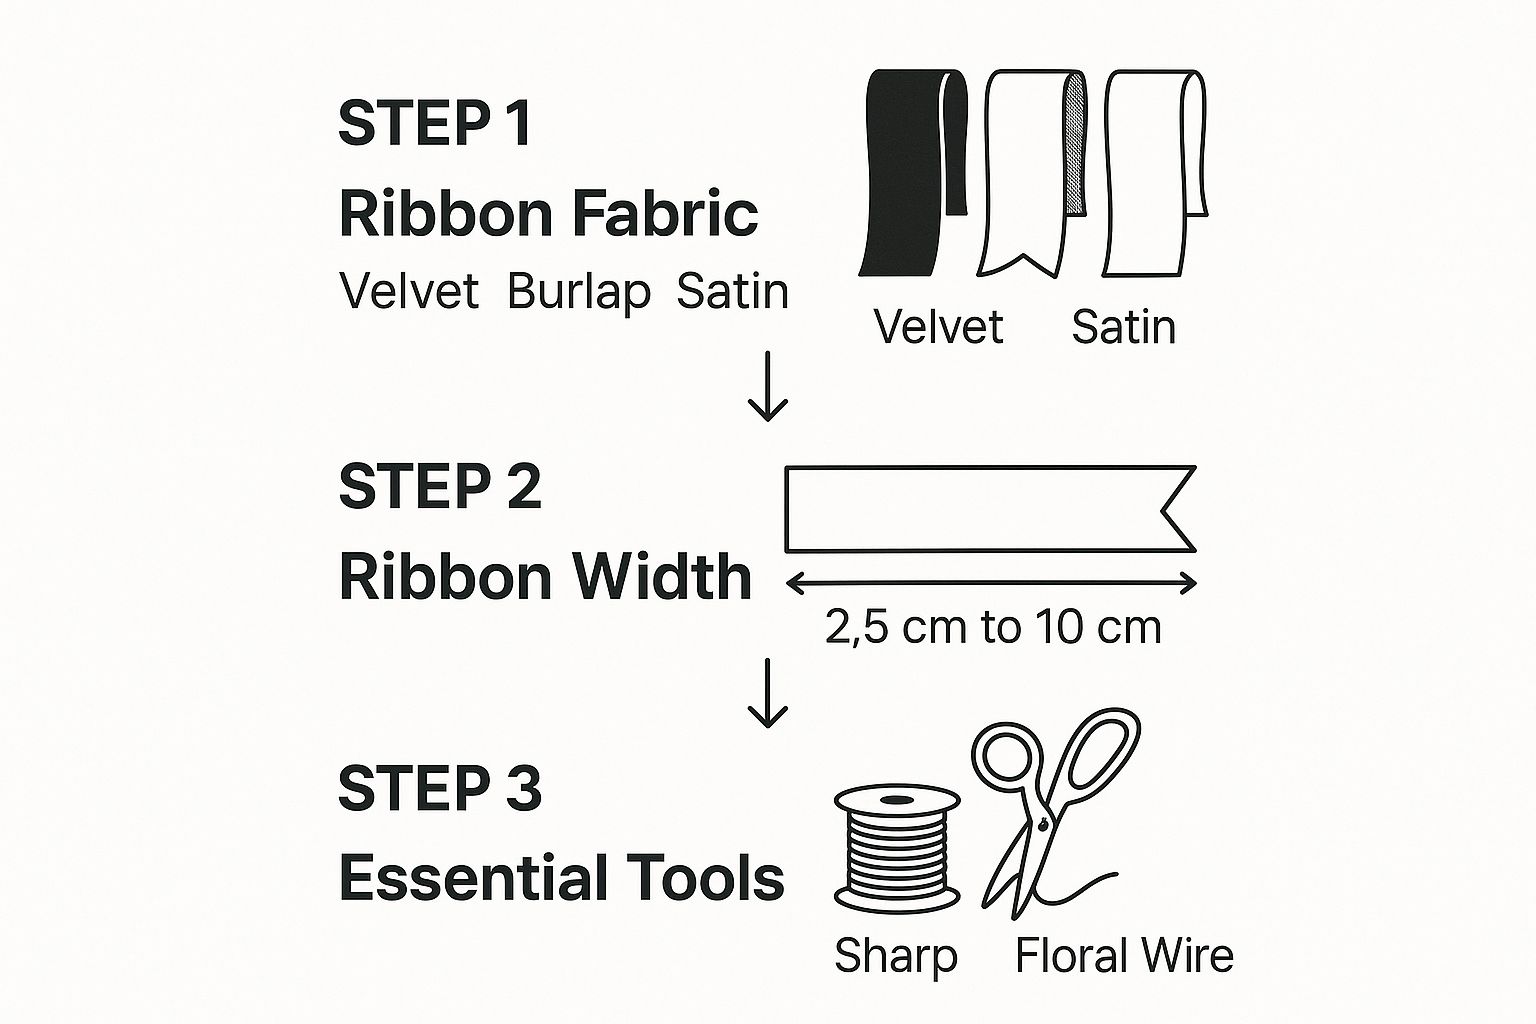
It’s a great visual guide that simplifies the whole process, showing how the fabric, width, and your tools all come together to create that perfect finish.
A Closer Look at Wired Ribbon Types
Choosing the right fabric can feel a bit overwhelming, but each one has its strengths. Knowing how they differ will help you pick the perfect one every time.
Wired Ribbon Types and Their Best Uses
| Ribbon Type | Characteristics | Best For |
|---|---|---|
| Satin | Smooth, glossy finish. Holds loops beautifully. | Weddings, formal gifts, elegant Christmas decor. |
| Grosgrain | Ribbed texture, very sturdy. | Everyday crafts, hair bows, projects needing durability. |
| Burlap/Jute | Rustic, natural texture. Can be a bit stiff. | Farmhouse wreaths, rustic wedding decor, autumn crafts. |
| Velvet | Plush, luxurious feel. Rich, deep colour. | Christmas tree toppers, high-end gift wrapping, winter decor. |
| Organza/Sheer | Light, airy, and translucent. The wire is essential. | Delicate floral arrangements, wedding pew ends, gift accents. |
As you can see, the material really dictates the final vibe. A velvet bow on a rustic burlap wreath might look out of place, so matching the ribbon to your project's style is key.
Essential Tools for Bow Making
Honestly, you don't need a massive toolkit. Aside from the ribbon itself, you only need a couple of key items to get started. Having the right gear on hand just saves you from any frustration and helps you get those clean, polished results.
First up, you need a pair of sharp fabric scissors. I can't stress this enough! They will give you a crisp, clean cut without fraying the ribbon's edges. Your regular paper scissors will just crush the fabric and mangle the delicate wire inside.
Next, you'll need a flexible yet strong wire to cinch the bow’s centre. Floral wire is what all the pros use because it's easy to twist tightly but is more than strong enough to hold even the biggest, most dramatic bows together.
People are really getting into crafting these days. In fact, the UK handicrafts market is set to grow at a rate of 5.7% annually between 2025 and 2030. That reflects a huge desire for personalised, handmade items. Using the right materials for details like wired bows adds so much value and uniqueness to these creations. You can read more about the UK arts and crafts market trends and see just how popular handmade has become.
Pro Tip: When choosing floral wire, pay attention to the gauge (that's the thickness). A thinner wire, like a 26-gauge, is perfect for delicate fabrics like organza. For heavier or wider ribbons like burlap or velvet, a sturdier 22-gauge wire is a much better choice. This makes sure your bow is secure without adding any clumsy bulk.
Creating the Classic Multi-Loop Bow
 Now we get to the fun part—bringing it all together. This classic multi-loop bow is the foundation for so many designs, and once you get the hang of this core technique, your creativity can really take over. It looks impressive, but it’s just a series of simple, repeated motions. We'll start with the tail, form a central anchor loop, and then build outwards from there.
The entire process hinges on one crucial move: the pinch and twist. Honestly, this single action is what keeps the ‘right’ side of your ribbon always facing forwards, making sure any patterns or textures are perfectly displayed. It’s the secret to learning how to make wired ribbon bows that look professional, not homemade.
Forming Your First Loops
To begin, unspool a good length of ribbon, but don’t cut it from the roll just yet. Decide how long you want your first tail to be—for a standard wreath bow, somewhere around 20-25 cm is a great starting point. Pinch the ribbon right at that point between your thumb and index finger.
Now, create your first loop by folding the ribbon over. This initial loop will become the small, central loop of your bow; it acts as an anchor and helps hide the wire later on. Give the ribbon a half-twist right where you're pinching it, so the patterned or 'pretty' side is facing up again.
This twist is everything. Every time you bring the ribbon back to the centre to form another loop, you must perform this small twist. It realigns the ribbon and ensures your bow doesn't end up with some loops showing the dull, reverse side.
Holding this centre pinch tightly, create your first proper loop on one side. Bring the ribbon back to the centre and pinch it securely under your thumb. The size of this loop is important, as it determines the overall width of your finished bow.
Building Symmetrical Layers
With one loop formed, it's time to build out the other side for a balanced look. You'll make another loop of the exact same size, just on the opposite side. To keep things symmetrical, you can eyeball it or even fold the new loop over the first one to check they’re the same length before pinching it into place.
Remember to twist the ribbon again as you secure this second loop at the central point. You are now holding two tails (one long, one short) and three loops (one small centre, two large side loops) all pinched together. This can feel a little awkward at first, but your hand will soon get the hang of it, I promise!
For a fuller, classic bow, you’ll want to create at least three or four loops on each side. Simply continue the process:
- Make a loop on the left side, slightly smaller than the last one.
- Pinch and twist it at the centre.
- Make a matching loop on the right side.
- Pinch and twist it at the centre.
Continue this back-and-forth pattern until your bow has the desired fullness. If you're new to this, we have some more easy ribbon bow instructions for perfect bows that can provide additional visual guidance.
Securing the Centre
Once you have all your loops, it’s time to lock them in place. Carefully hold the pinched centre with one hand. With the other, snip the ribbon from the spool, leaving a second tail that matches the length of the first one.
Take a piece of floral wire about 15 cm long. Slide it around the pinched centre of the bow, right where your thumb has been holding everything together. Pull it as tight as you possibly can and twist the wire several times at the back to secure it. This tight cinch is what creates that classic dimpled look in the centre of a professional bow. Don't worry about fluffing or shaping just yet—that comes next
Pushing Beyond the Basics: Custom Bow Designs
Once you've got the classic multi-loop bow down, the real fun begins. That basic 'pinch and twist' technique is a brilliant foundation, and from here you can create all sorts of incredible custom designs. Moving beyond a single ribbon is where your personal style can really shine through, letting you create bows that are truly unique and perfectly matched to your decor.
This is the next step in making wired ribbon bows that go from simply beautiful to absolutely spectacular. By layering different textures, colours, and even adding a few decorative bits, you can design a show-stopping centrepiece bow for any occasion imaginable.
Creating a Vibrant Funky Bow
The "funky bow" is a crafter's favourite for a reason—it’s just bursting with personality and is incredibly forgiving to make. The whole idea is to throw the rulebook out the window and combine multiple ribbons of different styles, widths, and textures into one big, beautiful, eclectic bow.
To get started, you'll want to cut several lengths of different wired ribbons. I usually aim for pieces around 60-70 cm long. A good combination might include something like:
- A wide, bold patterned ribbon (like a 6 cm plaid).
- A medium-width solid colour ribbon (perhaps a 4 cm velvet).
- A narrow, sparkly ribbon for a touch of glitter (like a 2.5 cm organza).
- A textured ribbon like burlap for a rustic feel.
Take each piece, fold it in half to find the centre, and then create a single loop by bringing the ends together and overlapping them slightly. You'll then stack these individual loops on top of each other, alternating the patterns and textures as you go. Pinch the entire stack firmly in the middle and secure it tightly with a long piece of floral wire. The result is an explosive, vibrant bow that’s perfect for wreaths and festive decorations.
Designing a Layered Bow with Cascading Tails
For a more elegant and dramatic look, you can't beat a layered bow with long, flowing tails. This style is absolutely stunning as a Christmas tree topper, on a door swag, or for decorating the back of chairs at a wedding. The key is to build the bow from the bottom up, starting with your widest ribbon for the largest loops.
You’ll essentially be making a series of two-loop bows and stacking them. Begin with your widest ribbon, creating two large loops and two lovely long tails. Secure it with wire, but don’t trim the wire just yet. Next, take a slightly narrower ribbon, make two slightly smaller loops with shorter tails, and place it directly on top of the first bow. Use that same piece of wire to bind them together.
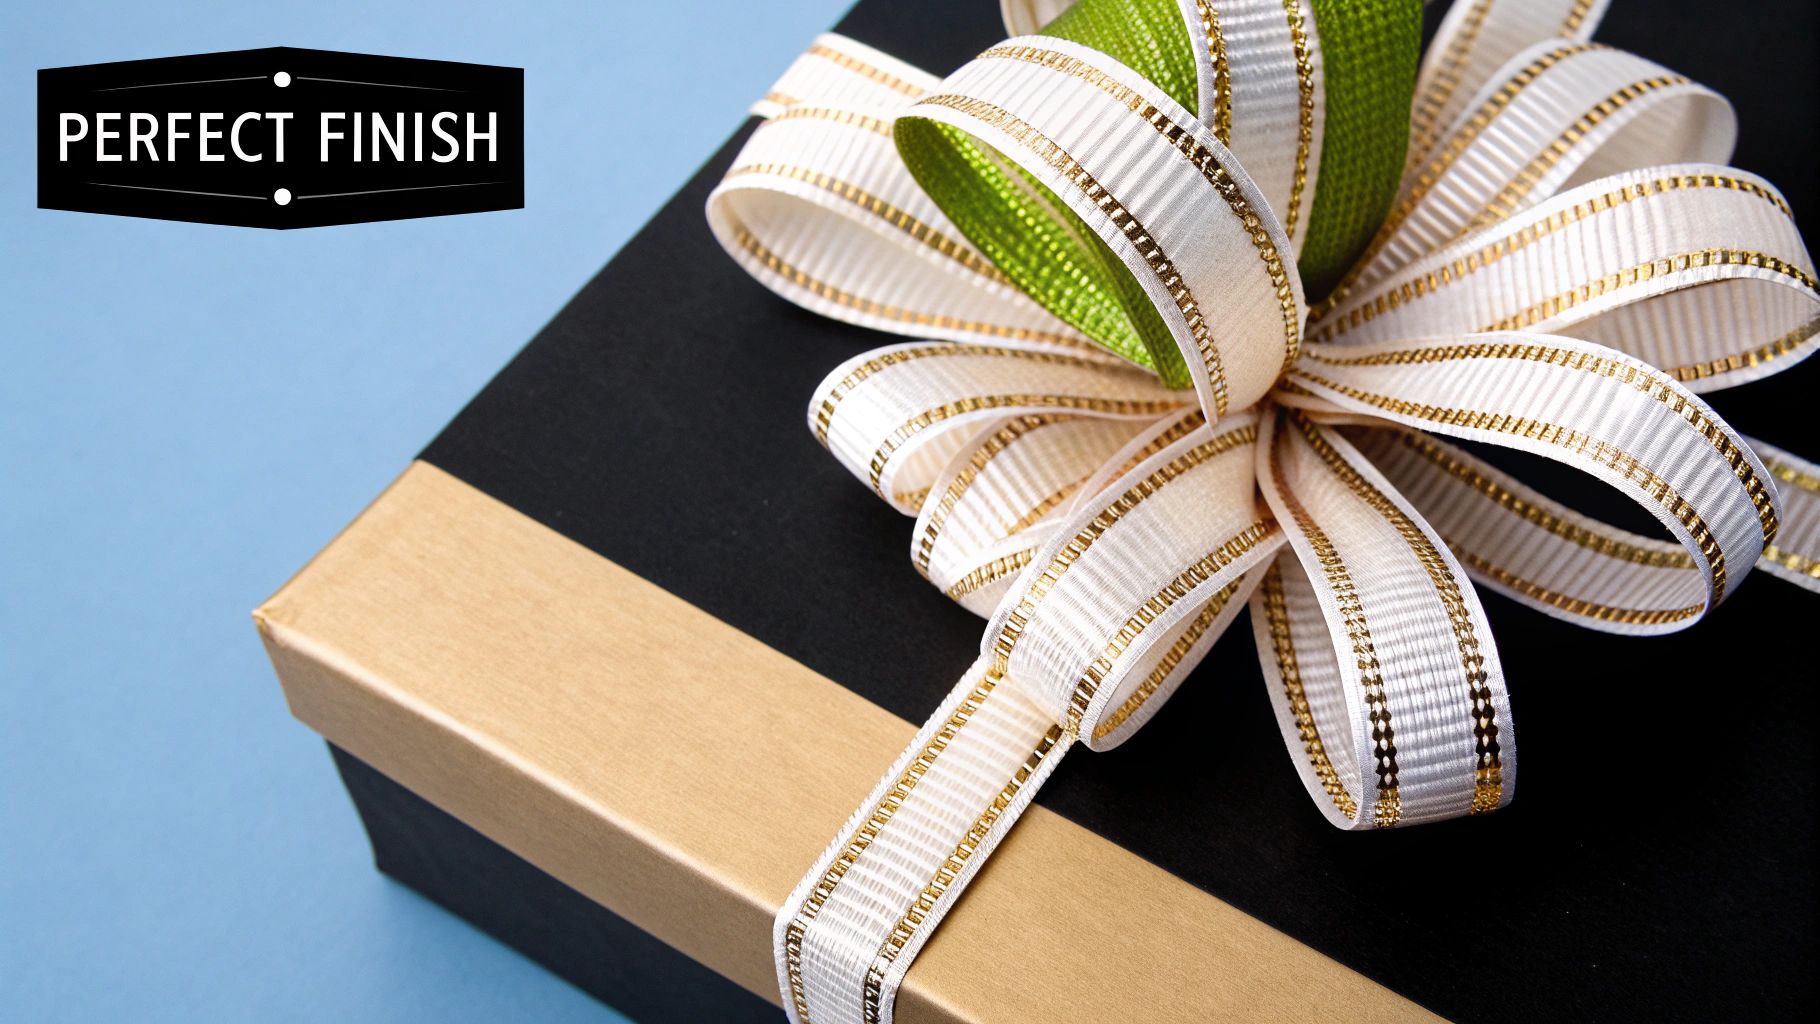
A great tip here is to use contrasting but complementary colours. For instance, a wide gold satin base layer topped with a narrower red velvet ribbon creates that classic, luxurious Christmas feel that looks visually stunning.
You can continue adding layers this way, finishing with your narrowest ribbon right on top. The different tail lengths create a beautiful cascading effect. For anyone looking to streamline this process, you can find helpful tips on how to make a feature bow using a bow maker, which is a fantastic tool for getting perfectly symmetrical layers every time.
Adding Decorative Accents
To give your custom bows that final professional polish, think about incorporating small decorative elements right into the centre. This is easiest to do just as you are securing the bow with floral wire. Before you twist the wire tight, simply poke the stems of your chosen accents into the pinched centre.
Some popular additions I love to use include:
- Faux berry sprigs for a festive, wintry look.
- Small, shatterproof baubles for a Christmas bow.
- Pinecones or cinnamon sticks for a rustic, natural aesthetic.
- Faux floral stems, like eucalyptus or lavender, for year-round decor.
Once your accents are in place, twist the wire tightly behind them to lock everything together. This simple trick integrates the elements seamlessly, making it look like they were always part of the bow. It’s an easy way to elevate your design and tie your bow into a broader decorative theme.
Shaping and Finishing Your Creation
 You've done all the careful folding and twisting, but this next part is where the real magic happens. The final shaping is what breathes life into your bow, transforming a flat bunch of loops into a full, spectacular creation. A finished bow is one thing; a properly 'fluffed' bow is something else entirely.
The secret is all in the wire. Gently start pulling the loops apart from each other. Don't be shy—get your fingers right inside each loop to puff it out and give it a lovely rounded shape. I like to twist and nudge them until the spacing feels right and the bow looks balanced and full from every angle.
Trimming the Tails
Never underestimate the power of a well-cut tail! This tiny detail adds a huge touch of polish and makes your bow look deliberate and professional.
There are two classic cuts that I always come back to:
- The Angled Snip: This is just a simple, clean cut on a diagonal. It creates a crisp, tidy finish that works for pretty much any occasion, from birthday gifts to festive wreaths.
- The Dovetail (or V-Cut): For a more traditional, decorative look, fold the ribbon tail in half lengthwise. Then, cut from the folded edge up towards the outer edge at about a 45-degree angle. When you open it up, you get that perfect, symmetrical V-shape.
Choosing the right cut really depends on the style you're going for, but either one will make your bow look complete.
Remember, the quality of your finish is just as important as the construction. Taking a moment for these final touches is what elevates your work from homemade to handmade with professional flair.
Securing Your Bow to Any Surface
Your beautiful bow is ready for its grand debut! The leftover floral wire you used to secure the centre is now your best friend for attaching it to almost anything. Simply use those long wire ends to wrap around whatever you're decorating.
If you're adding it to a wreath, just twist the wire firmly around a sturdy branch. For a gift, I find it easiest to wrap the wire around the ribbon already on the package. If you're attaching it to a lantern or a bannister, a good, tight twist at the back is all it takes to hold it securely in place.
This is a hands-on skill, and like many traditional crafts, the art of complex ribbon work is kept alive by people sharing their knowledge. It's a cherished part of crafting. If you're interested, you can learn more about the preservation of craft skills and see just how vital this exchange of techniques is.
Common Bow Making Mistakes to Avoid
Every bow maker, myself included, learns through a bit of trial and error. But knowing the common pitfalls from the start can save you a lot of frustration (and a lot of ribbon!). Learning how to make wired ribbon bows is mostly about building muscle memory, but a few simple mistakes can leave you with a bow that’s lopsided, loose, or just plain underwhelming.
Let's walk through the classic blunders I see all the time, so you can skip the learning curve and get a professional result much faster.
Keeping Your Loops Symmetrical
One of the most frequent issues is getting your loops all different sizes. It’s so easy to create a beautiful first loop, only to find the next one is slightly too big or too small, throwing off the entire bow’s symmetry. This almost always happens when you don't have a consistent measuring guide.
The simplest fix is right at your fingertips—literally. Use your own hands as a guide.
When you form your first loop, make a mental note of where the ribbon ends on your non-dominant hand. For example, it might reach the tip of your middle finger. When you form the next loop on the opposite side, just make sure it reaches the exact same point.
This quick finger-spacing trick provides a consistent measurement without needing a ruler, helping you build a balanced, even bow every single time. It’s a small habit that makes a huge difference.
Lopsided bows are almost always a result of inconsistent loop sizes. Use a physical reference point—like your own fingers—to check each loop against the last one you made. This ensures perfect symmetry without slowing you down.
Another classic mistake is not securing the centre tightly enough. A loose central wrap is the number one cause of a floppy, unstable bow that falls apart as you try to fluff it. You need to pull that floral wire as tight as you possibly can to create the signature pinched middle that all great bows have.
Estimating Your Ribbon Needs
There’s nothing worse than getting halfway through a magnificent bow only to realise you’re about to run out of ribbon. Underestimating the length needed is a mistake everyone makes at least once! A full, multi-loop bow uses a surprising amount of material.
As a general guideline, a standard 25 cm diameter bow with six loops will require at least 2.5 to 3 metres of ribbon. My best advice is to always leave the ribbon attached to the spool until the very end, but if you absolutely have to pre-cut, be generous.
Here’s a quick reference table I put together to help you plan ahead.
Estimated Ribbon Length for Classic Bows
| Finished Bow Diameter | Number of Loops (Total) | Estimated Ribbon Needed |
|---|---|---|
| 15 cm (Small Gift Bow) | 6 Loops | 1.5 - 2 Metres |
| 25 cm (Wreath Bow) | 8 Loops | 3 - 4 Metres |
| 35 cm (Tree Topper) | 12 Loops | 5+ Metres |
This table provides a great starting point, preventing you from cutting your ribbon too short and wasting good material. Keep it handy
Your Wired Ribbon Bow Questions Answered
To wrap things up, here are a few quick answers to some of the most common snags you might hit when getting the hang of how to make wired ribbon bows. Think of these as your go-to troubleshooting tips for perfecting your technique.
My Bow Looks Flat, How Do I Make It Fuller?
This is where the real magic happens—it’s all in the ‘fluffing’. Once you've secured the centre, don't be shy about getting in there and working with the wire.
Gently pull each loop outwards from the centre, giving them a slight twist to separate them from their neighbours. Then, use your fingers to get right inside each loop and push it outwards, giving it that lovely, full, rounded shape. A good rule of thumb? More loops will always add more volume.
Can I Make a Wired Ribbon Bow Without Floral Wire?
Absolutely! If you don't have floral wire to hand, a sturdy pipe cleaner is a fantastic alternative and is dead easy to twist tight.
For something with a more rustic, earthy feel, you could even use strong twine or jute. Just be prepared to pull it incredibly tight to properly cinch those loops and create that classic, pinched centre that every great bow has.
Ready to start creating your own beautiful bows? You can find the perfect material for your next project right here at Ribbons4u Ltd, where we stock a huge selection of high-quality wired ribbons for every occasion.
Why not explore our collection and get inspired at https://ribbonsforyou.com.


 Facebook
 Twitter
 Pinterest