Satin Ribbon for Bows: Style Tips & DIY Guide

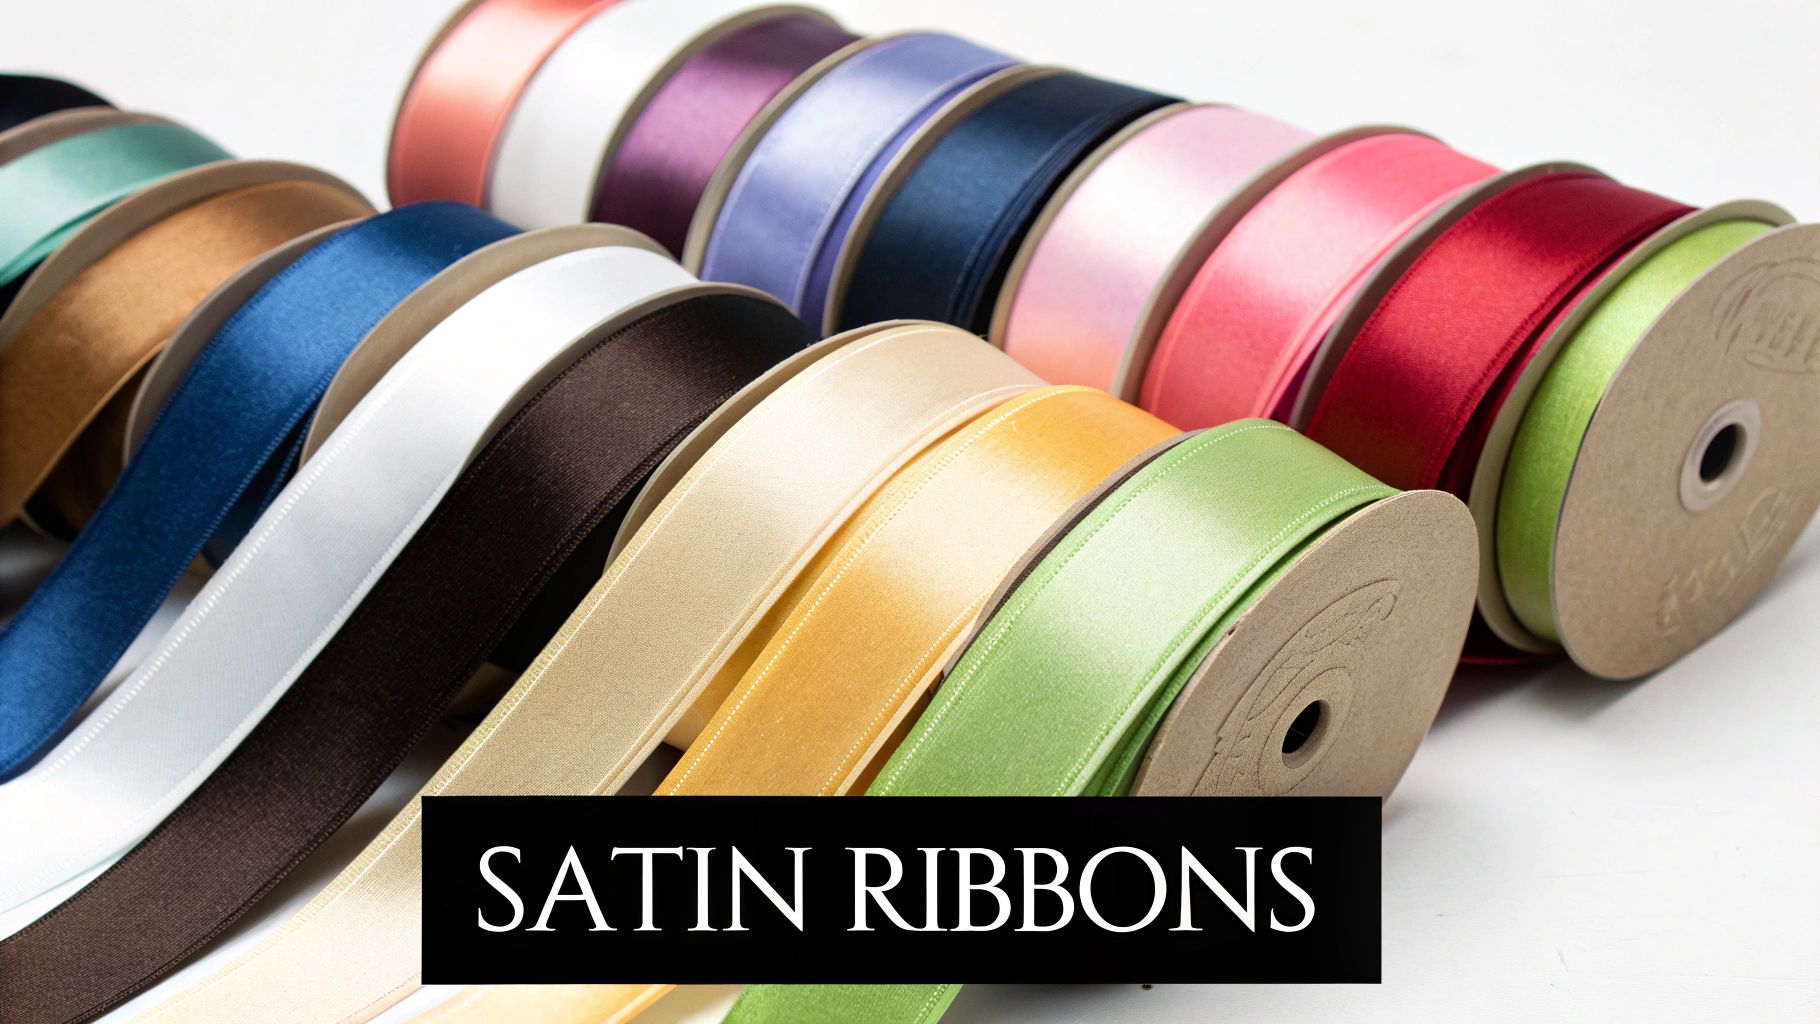
Choosing the right satin ribbon for bows is the first step towards creating something truly special. The best choice almost always comes down to the project at hand. For instance, a lush double-faced satin is perfect for gift wrapping where both sides might be on show, while single-faced satinis a brilliant, cost-effective option for projects where the back is neatly hidden away.
Choosing the Right Satin Ribbon for Bows
The secret to a stunning bow really does begin with the ribbon you choose. It’s about so much more than just the colour; the type, width, and finish all play a huge part in the final look. Get it right, and you can transform a simple project into something spectacular.
Single-Faced vs Double-Faced Satin
Your first big decision is whether to go for single-faced or double-faced satin. Single-faced ribbon has one shiny, smooth side and one that’s a bit duller. This makes it fantastic for tying around boxes or for flat applications where you can guarantee only the glossy side will be seen.
Double-faced satin, on the other hand, is the star of the show when it comes to creating bows with intricate loops and folds. It's glossy on both sides. With this ribbon, you never have to worry about a dull side accidentally peeking through, which ensures a polished, high-end look from every single angle. If you're aiming for that professional, luxurious feel, double-faced is definitely worth it.
Pro Tip: For beginners, starting with double-faced satin ribbon is often much easier. It completely removes the fiddly step of constantly twisting the ribbon to keep the shiny side up, letting you focus purely on mastering the bow-tying technique itself.
A great ribbon can make all the difference. To help you decide, here’s a quick comparison of the two main satin types for bow-making.
Quick Guide to Selecting Satin Ribbon
| Ribbon Type | Best For | Key Characteristic |
|---|---|---|
| Single-Faced Satin | Flat applications, gift boxes, crafts where the back is hidden | Shiny on one side, matte on the other. Very budget-friendly. |
| Double-Faced Satin | Intricate bows, high-end gift wrap, floral arrangements | Luxurious sheen on both sides. No "wrong" side to worry about. |
Ultimately, the best ribbon depends on your project's needs and the final look you're hoping to achieve.
Matching Ribbon to Your Project
The width of your satin ribbon can dramatically alter a bow's personality. A slender, 7mm ribbon adds a delicate, elegant touch to small favour boxes or place settings. In contrast, a wide, 50mm ribbon makes a bold, unmissable statement on a large gift or a festive Christmas wreath.
Think about the context of your project:
- For gift wrapping: A medium-width ribbon, somewhere between 15mm and 25mm, is a versatile and timeless choice that works for most presents.
- For floral arrangements: Thinner ribbons can be woven in subtly amongst the flowers, while wider ones can form the structural base of the design.
- For crafting: The project dictates everything. A tiny bow on a greetings card needs a completely different scale than one destined for a handmade garland.
Many UK-based suppliers offer fantastic quality materials. Some companies, for instance, make a point of stocking ribbons woven right here in the UK, which is a great way to support local textile manufacturing. If you’re looking for a wide variety to get started, you can explore a complete range of satin ribbons in our shop.
Getting Your Ribbon Ready for Flawless Bows
Before you even think about tying that first loop, let's talk about preparation. It might sound a bit tedious, but trust me, taking a few moments to properly prep your ribbon is what separates a homemade-looking bow from one that looks like it came from a high-end boutique. This is where the magic really starts.
Your most important tool here is a pair of ultra-sharp fabric scissors. Seriously, don't just grab any old pair from the kitchen drawer! Using dull scissors will only crush and fray the delicate fibres of your satin ribbon, leaving you with a messy, unprofessional finish.
For a clean, classic look on your ribbon tails, the dovetail cut (sometimes called a v-cut) is my go-to. It's simple but effective. Just fold the end of your ribbon in half lengthwise and snip upwards at a 45-degree angle from the folded edge towards the outer edges. Voila, a perfect finish every time.

Measuring and Cutting Your Ribbon
There's nothing more frustrating than getting halfway through a beautiful bow only to realise you've run out of ribbon. To avoid wasting your lovely satin, I use a simple formula.
For a classic bow, a good rule of thumb is to measure the desired width of the finished bow, multiply that by eight, and then add the length you want for both tails.
Let's say you're aiming for a 4-inch wide bow with two 6-inch tails. You'd need about 44 inches of ribbon in total (that's 4 x 8, plus 6 for one tail, plus 6 for the other). It's a great starting point that you can tweak as you get more practice.
A Crafter's Secret: If your satin ribbon feels a bit too soft or flimsy for the intricate bow you're picturing, a light mist of spray starch can be a game-changer. Let it dry completely before you start, and you’ll find the ribbon has more body, making it much easier to shape into crisp, defined loops that hold their form beautifully.
Adding a Bit of Structure
Sometimes, especially with more complex or larger bows, a standard satin ribbon just needs a bit more structure to hold its shape. While the starch trick works wonders for a little extra help, another option is to look at different materials entirely.
For projects that need serious shape and volume, you might want to explore the world of wired ribbons. These have a thin, flexible wire stitched right into the edges. This means you can sculpt perfect, gravity-defying loops and tails that stay exactly where you put them. It's a fantastic choice for wreaths, tree toppers, and large gift packages.
How to Tie the Classic Gift Bow
The classic gift bow is a timeless skill every gift-giver should have in their back pocket. Forget complicated techniques; the real secret to a perfect, balanced bow is a simple method often called the ‘bunny ear’ technique. Once you get the hang of it with a good quality satin ribbon for bows, you’ll be able to whip up a gorgeous bow every single time.
First, lay your ribbon flat on your work surface. Create two loops of the same size – your ‘bunny ears’ – and cross them over at the centre to make an ‘X’ shape. This is the foundation of your bow. Think of it just like the first step of tying your shoelaces—it’s that intuitive.
Now, take one of those loops and pass it behind the other, threading it through the hole that’s formed at the bottom of the 'X'. Pull it through gently but firmly. As you tighten the knot, you’ll see that classic bow shape start to take form.
Perfecting the Shape and Volume
Once the knot is secure, it's time to fluff and shape your bow. This is the part that really brings it to life. Gently tug and adjust the loops until they’re symmetrical and have a lovely, full appearance.
Don't be afraid to give the tails a little pull to make sure the centre knot is tight and won't come undone. A tight knot is the key to a bow that holds its shape beautifully.
This visual guide breaks down the core actions for tying your bow.
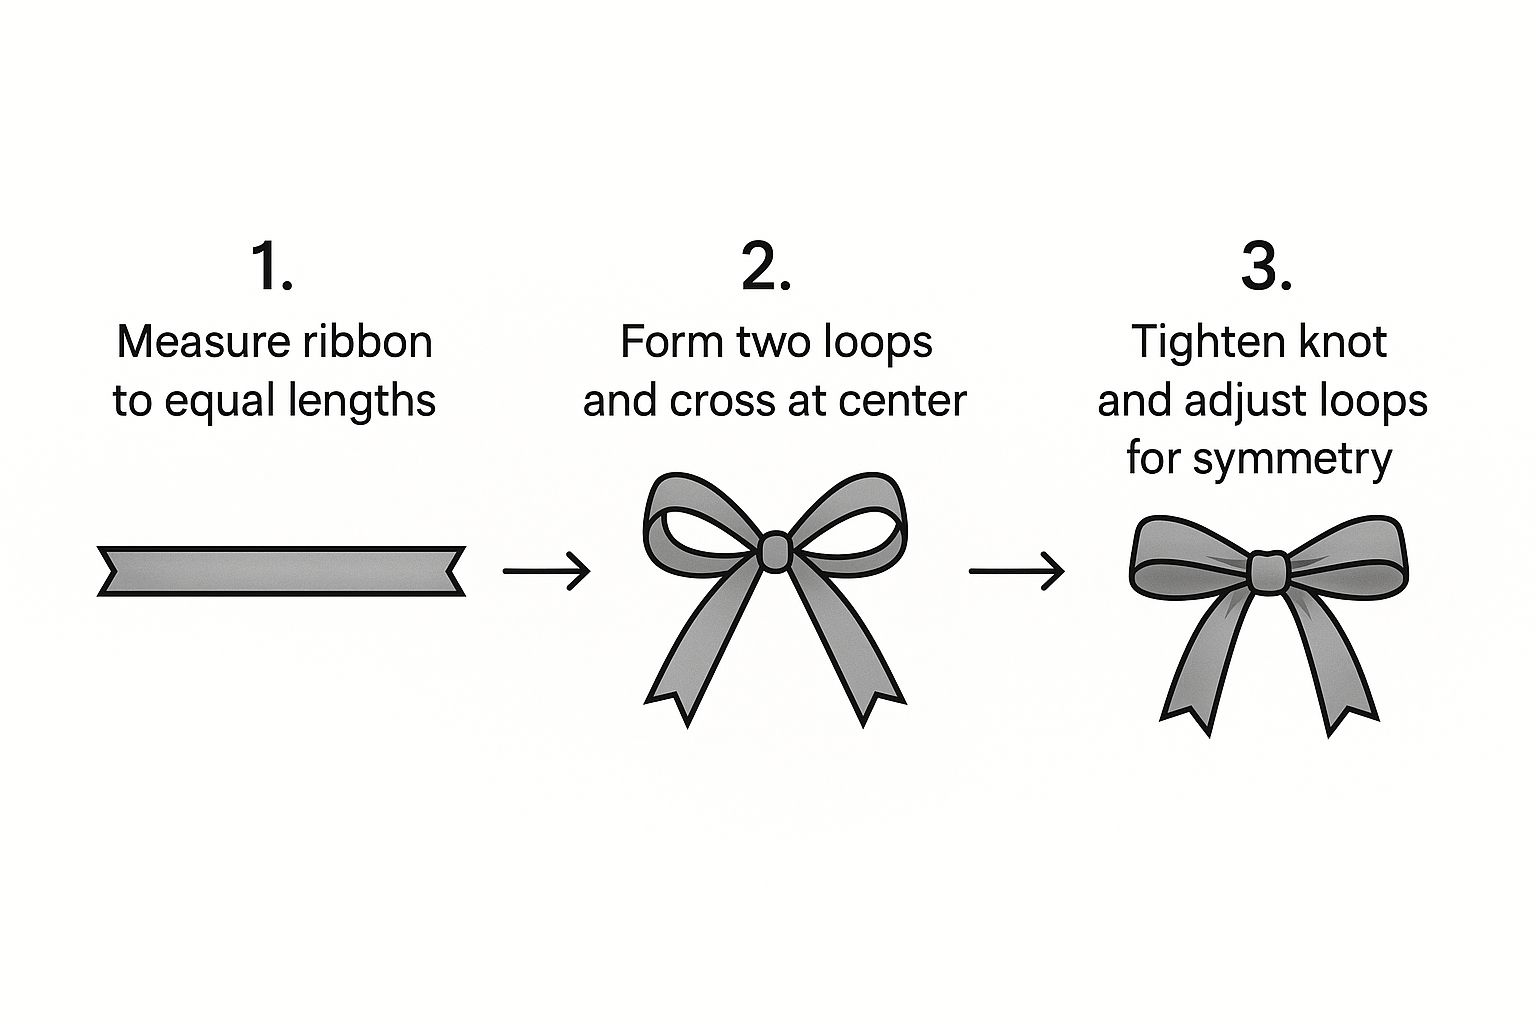
The infographic simplifies the process into three key stages, showing how creating two balanced loops is the essential starting point for a symmetrical finish.
The use of decorative ribbon has quite a history here in the UK. By the mid-1800s, the silk weaving industry in Coventry was thriving, with roughly half of the city's working population involved in making fine silk ribbons. These were essential for adorning Victorian ladies' dresses and bonnets, showing just how long we've valued a beautiful bow. You can discover more about Coventry's ribbon trade history if you're curious!
An Insider's Tip: For extra volume, try using a slightly wider double-faced satin ribbon. Once it's tied, pop your thumbs inside the loops and gently 'fluff' them outwards. This simple action adds so much body and creates a more luxurious, rounded shape.
Creating a Luxurious Multi-Loop Bow
When your project demands a real showstopper, a simple bow sometimes just won't cut it. For that maximum impact on wreaths, large gifts, or special event decor, the multi-loop pom-pom bow is the ultimate goal. It might look intricate, but the technique is surprisingly straightforward once you find your rhythm.
The easiest way to get those loops perfectly consistent is to use a guide. You don’t need any fancy gadgets for this; your own hand works beautifully. For a smaller, tighter bow, wrapping the ribbon around three or four fingers is ideal. If you're aiming for something grander and more voluminous, spread your fingers apart or use the full width of your hand from thumb to pinky.
Building Your Loops
To get started, pinch the end of your satin ribbon for bows firmly between your thumb and index finger. Now, just start wrapping the ribbon around your fingers, creating one loop after another. A word of caution: don't wrap it too tightly, or you'll have a real struggle getting it off your hand later.
I find that about 15-20 wraps creates a wonderfully full, dense bow, but feel free to do more or less depending on the volume you’re after.
Once you’re happy with the number of loops, carefully slide the whole bundle off your hand, making sure to keep it pinched securely in the centre. This next part is the secret to a well-structured bow.
- Take your sharp scissors and snip a small V-shape or notch right into the centre of both sides of the ribbon bundle. Be careful not to cut all the way through – you just want to create a little indentation.
That notch you've just cut is the perfect groove for securing everything together.
Securing and Fluffing the Bow
Now, grab a piece of thin craft wire or even a sturdy bit of twine. Wrap it tightly around the notched centre you just made and twist it several times at the back. This locks all the loops securely in place. Getting this part nice and tight is what allows the bow to be fluffed out properly into that classic pom-pom shape.
Crafter's Insight: The real magic of a pom-pom bow happens during the fluffing stage. Start by pulling out the innermost loop on one side and giving it an upward twist. Next, pull out the innermost loop on the other side and twist it downwards. Keep going with this alternating pattern, pulling and twisting each loop until you have a gorgeous, spherical shape.
If your bow looks a little lopsided at first, don't panic! It's completely normal. You can gently tug and reposition individual loops until you're happy with the balanced, even look. It’s a simple technique, but one that creates an impressively full and luxurious bow every single time.
Taking Your Bows to the Next Level

Once you've got the hang of the basic bow, the real fun begins. Stepping beyond a single piece of ribbon is where you can start to inject your own personality and add a truly professional, multi-dimensional finish to any project.
Layering different ribbons is a brilliant way to introduce a mix of colour, texture, and depth. Don't be shy about mixing and matching! A great combination I often use is a wide, double-faced satin ribbon for bows paired with a delicate, sheer organza. This creates a gorgeous contrast between the lustrous satin and the airy organza.
The whole point of this technique is to create visual interest. Try combining different widths and complementary colours for a stunning, custom look that will make your gift or decoration a real standout.
Adding a Touch of Decoration
To make your bow feel even more special, think about adding small decorative elements right into the central knot as you're tying it. This little detail can tie your bow into a bigger theme, whether it's for a holiday, a wedding, or another special celebration.
Here are a few ideas I love to use:
- Small Floral Picks: These are perfect for spring events or adding a rustic feel to gifts.
- Tiny Ornaments: Absolutely ideal for adding a festive sparkle to Christmas presents.
- Personalised Charms: A lovely touch for keepsakes, especially if you add a name, initial, or date.
The best way to secure these little extras is with a small dab of hot glue, or by threading them onto the wire or twine you use to cinch the bow's centre. It’s a simple step that makes a huge impact. For more tips on building these kinds of impressive designs, have a look at our guide on how to make a feature bow using a bow maker.
It's interesting to note the journey of the ribbon we use. While many UK suppliers champion locally produced satin ribbon, the market is truly global. A massive amount of the world's polyester satin ribbon actually comes from the Far East, particularly China. They offer very competitive pricing and the quality has improved immensely over the years. Knowing this helps when you're choosing the right quality for those really high-end projects.
Your Top Satin Bow Questions Answered
Even with the clearest instructions, you're bound to run into a question or two. It’s just part of any creative process! When you're working with a material like satin, a few common queries always seem to pop up. Getting these sorted can be the difference between a frustrating afternoon and creating something you're truly proud of.
Time and again, I see crafters get tripped up by those dreaded fraying edges. It’s such a small detail, but it can make an otherwise perfect bow look a bit messy. Understanding the ribbon itself is just as important—knowing when to reach for single-faced versus double-faced satin can completely change your final result.
How Do I Stop My Ribbon From Fraying?
The quickest and easiest way to stop fraying in its tracks is to use a pair of exceptionally sharp fabric scissors. A crisp, clean snip from a sharp blade is far less likely to pull and separate the delicate satin fibres.
For a more permanent seal on synthetic ribbons (like polyester), you can carefully and very quickly pass the cut edge through the flame of a lighter. This instantly melts the fibres together, creating a tidy, sealed edge that won't unravel.
Safety First: Always test the flame technique on a small scrap of ribbon first to see how it reacts. Make sure you're in a well-ventilated space and keep your fingers a safe distance from the heat. If you're not keen on using a flame, a tiny dab of clear-drying fabric glue or a dedicated product like Fray Check works wonders, too.
Single-Faced or Double-Faced Ribbon?
This is a classic question, and the answer really affects how your finished bow looks and feels. The difference is simple, but it has a big impact.
-
Single-Faced Satin: This is the most common type of satin ribbon. It has one gorgeously shiny, smooth side and one that's a bit duller and more matte. It's fantastic for wrapping gifts or any project where the back of the ribbon will be hidden.
-
Double-Faced Satin: A more luxurious choice, this ribbon is beautifully glossy on both sides. It's the best option for creating bows with lots of intricate loops and twists, as you'll never have to worry about a "wrong" or dull side showing through.
How Much Ribbon Do I Need?
For a standard, everyday gift bow that’s about four inches across, a good rule of thumb is to start with at least one metre of ribbon. This gives you plenty to work with for a few loops and two elegant, well-proportioned tails.
If you’re aiming for something bigger and more dramatic, like a voluminous multi-loop bow for a wreath or special occasion, you'll probably need anywhere from three to five metres. My advice? It's always better to start with a little more ribbon than you think you need. You can always trim the tails to perfection, but you can’t add length back once it's been cut!
Ready to create your own stunning bows? Find the perfect satin ribbon for any project at Ribbons4u Ltd. Explore our extensive collection at https://ribbonsforyou.com and start crafting today.


 Facebook
 Twitter
 Pinterest