Making the Perfect Green Velvet Bow
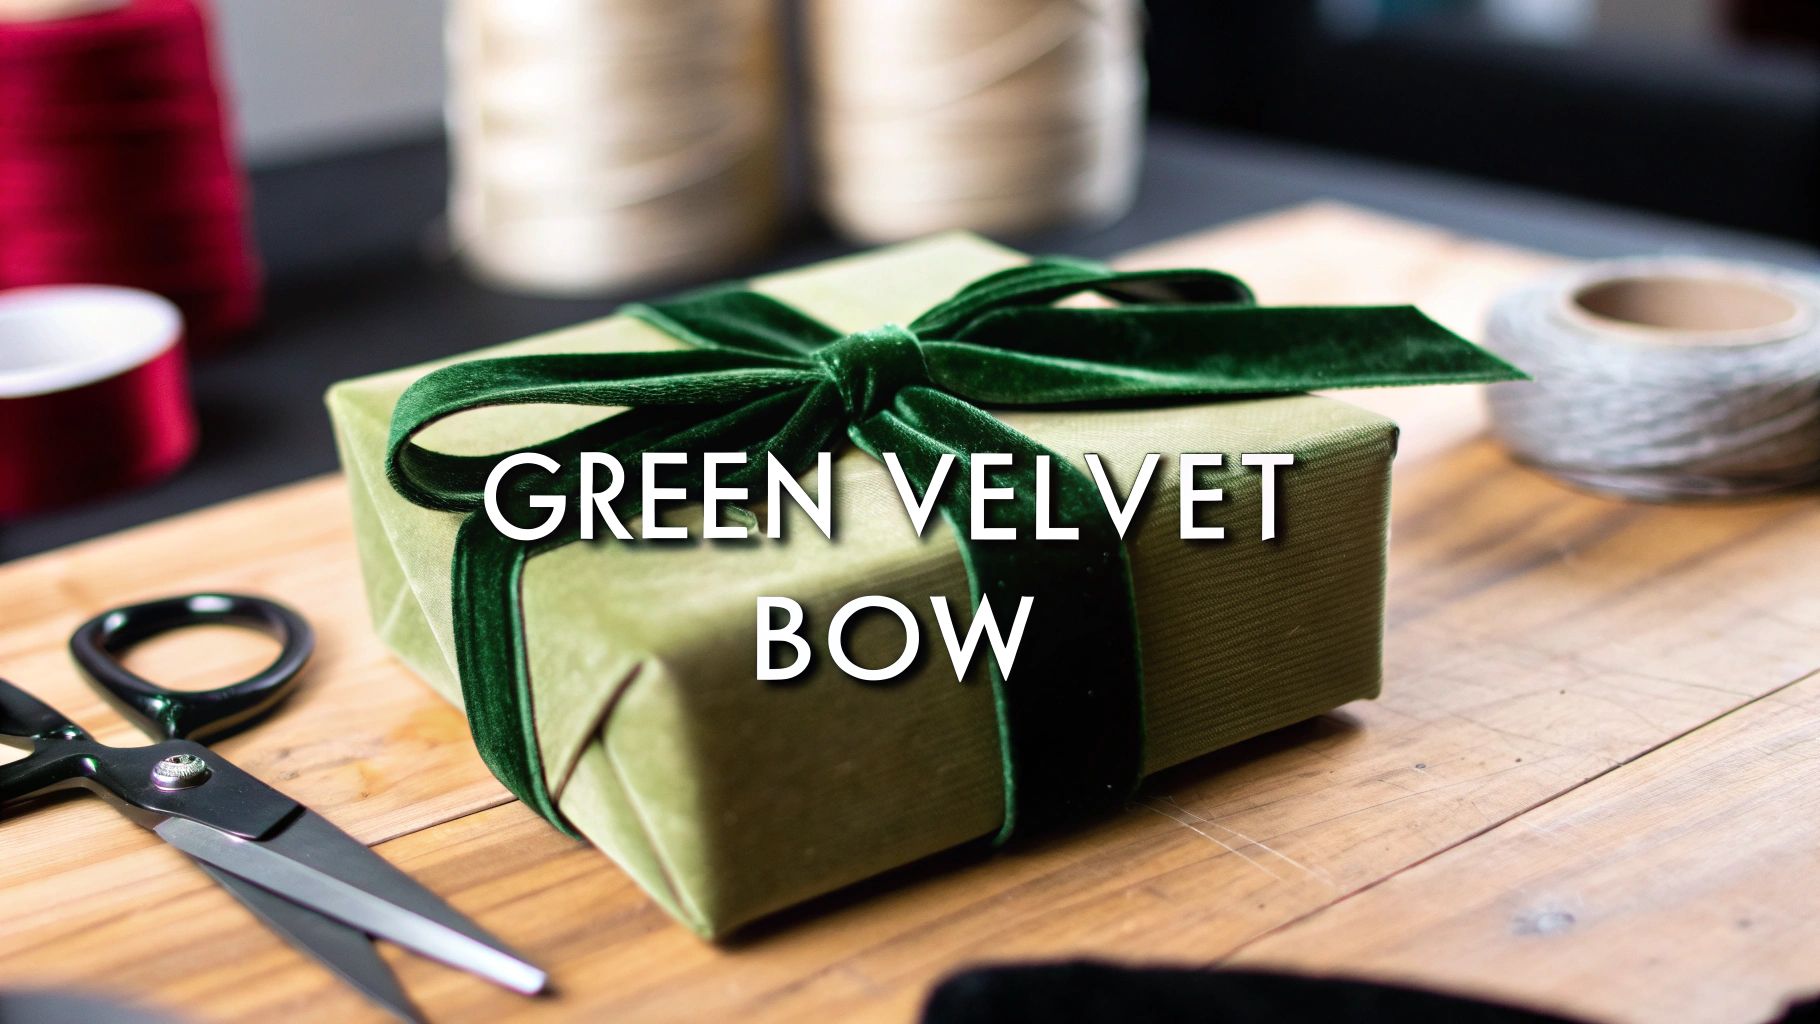
There’s something undeniably special about a green velvet bow. It has a way of adding instant luxury to just about anything, turning an ordinary gift or a simple decoration into something that feels truly thoughtful and elegant. The magic is in its rich, tactile texture and the deep colour that seems to dance in the light.
Whether you're going for full-on festive charm or a touch of year-round sophistication, this simple accessory always delivers a high-impact finish with surprisingly little effort.
Why the Green Velvet Bow Is So Popular
There’s a good reason this classic adornment remains a firm favourite in design, fashion, and festive decorating. The secret to its lasting appeal is a unique blend of sensory charm and symbolic meaning.
Velvet itself has always been linked with nobility and celebration. Its plush feel is inherently luxurious, making even the simplest package seem more significant. When you couple that with the colour green, it taps into themes of nature, renewal, and tradition – especially around the Christmas season.
A Wonderfully Versatile Design Element
Beyond its festive connections, the green velvet bow is incredibly versatile. It works beautifully with a huge range of styles, from rustic farmhouse to clean, modern minimalist. A deep forest green bow can add a sophisticated touch to neutral-toned wrapping paper, while a brighter emerald green creates a look that’s vibrant and joyful.
Key Takeaway: The power of a green velvet bow lies in its ability to add texture, colour, and a sense of occasion. It’s a small detail that makes a big difference, elevating your project from simple to stunning.
This versatility is exactly why you see it pop up everywhere:
- Gift Wrapping: The perfect finishing touch on birthday, wedding, or holiday presents.
- Home Décor: Adorning wreaths, staircase bannisters, and table centrepieces.
- Fashion: Used as hair accessories or as beautiful embellishments on clothing and bags.
Ultimately, its popularity comes down to its timeless elegance. It brings an effortless sophistication to any item it graces.
Choosing The Right Green Velvet Ribbon
The secret to a truly breathtaking green velvet bow really does start with the ribbon you choose. From a deep, moody forest green that gives a touch of traditional elegance to a soft sage for a more modern, delicate feel, the colour you pick sets the entire tone for your project.
Think about where the bow will eventually live. A rich, almost burgundy-tinged green is absolutely perfect for a classic Christmas wreath. On the other hand, a brighter, more vibrant lime or emerald green would feel right at home on a springtime gift basket.
Wired vs Non-Wired Velvet
Your next big decision is whether to go for a wired or non-wired ribbon. This choice makes a huge difference to the final shape and structure of your bow, so it’s worth getting right.
-
Wired Ribbon: This type has a fine, flexible wire running along its edges. It’s my go-to for creating large, structured bows that absolutely have to hold their shape—think of those big, beautiful bows on a front door wreath or wrapped around a staircase bannister. The wire lets you sculpt full, voluminous loops that simply won't sag.
-
Non-Wired Ribbon: This ribbon gives you a much softer, more natural drape. It’s perfect for creating delicate bows for gift wrapping or even as hair accessories, where a gentle, less rigid look is what you’re after.
The right ribbon ensures your bow not only looks beautiful but also functions perfectly for its intended purpose. For grand, sculptural bows, wired is the way to go; for softer, more fluid designs, choose non-wired.
Understanding Ribbon Width
Finally, let's talk about width. A wider ribbon (I’m thinking 5cm or more) makes a really bold statement and is fantastic for larger projects. For smaller, more intricate work like decorating a little gift box or making a hair accessory, a narrower ribbon is much more proportional and a lot easier to manage.
Green Velvet Ribbon Selection Guide
To make it a bit easier, here’s a quick comparison to help you choose the best type of green velvet ribbon for your project.
| Ribbon Type | Best For | Key Feature |
|---|---|---|
| Wide Wired | Large wreaths, bannisters, event décor | Creates big, structured loops that hold their shape |
| Narrow Wired | Medium gifts, floral arrangements, lanterns | Provides shape and control for smaller, detailed bows |
| Wide Non-Wired | Draping, table runners, chair sashes | Offers a soft, luxurious drape for flowing designs |
| Narrow Non-Wired | Small gift boxes, hair bows, craft projects | Perfect for delicate, soft bows with a natural fall |
Ultimately, the best choice comes down to the final look you want to achieve. A big, bold wreath needs that structure, whereas a simple gift bow often looks better with a softer finish.
This versatility is a big reason for its growing popularity. Data from Etsy UK shows a rising demand for green velvet bows, used as both hair accessories and gift wrapping touches. Buyers often mention the rich colour and incredible softness as key reasons for their purchase. With over 85% of buyers leaving top ratings for these items, it’s clear that choosing the right material is absolutely key to a successful project.
You can discover more about the variety of velvet ribbons available to find the perfect match for your creative vision. The options are truly endless
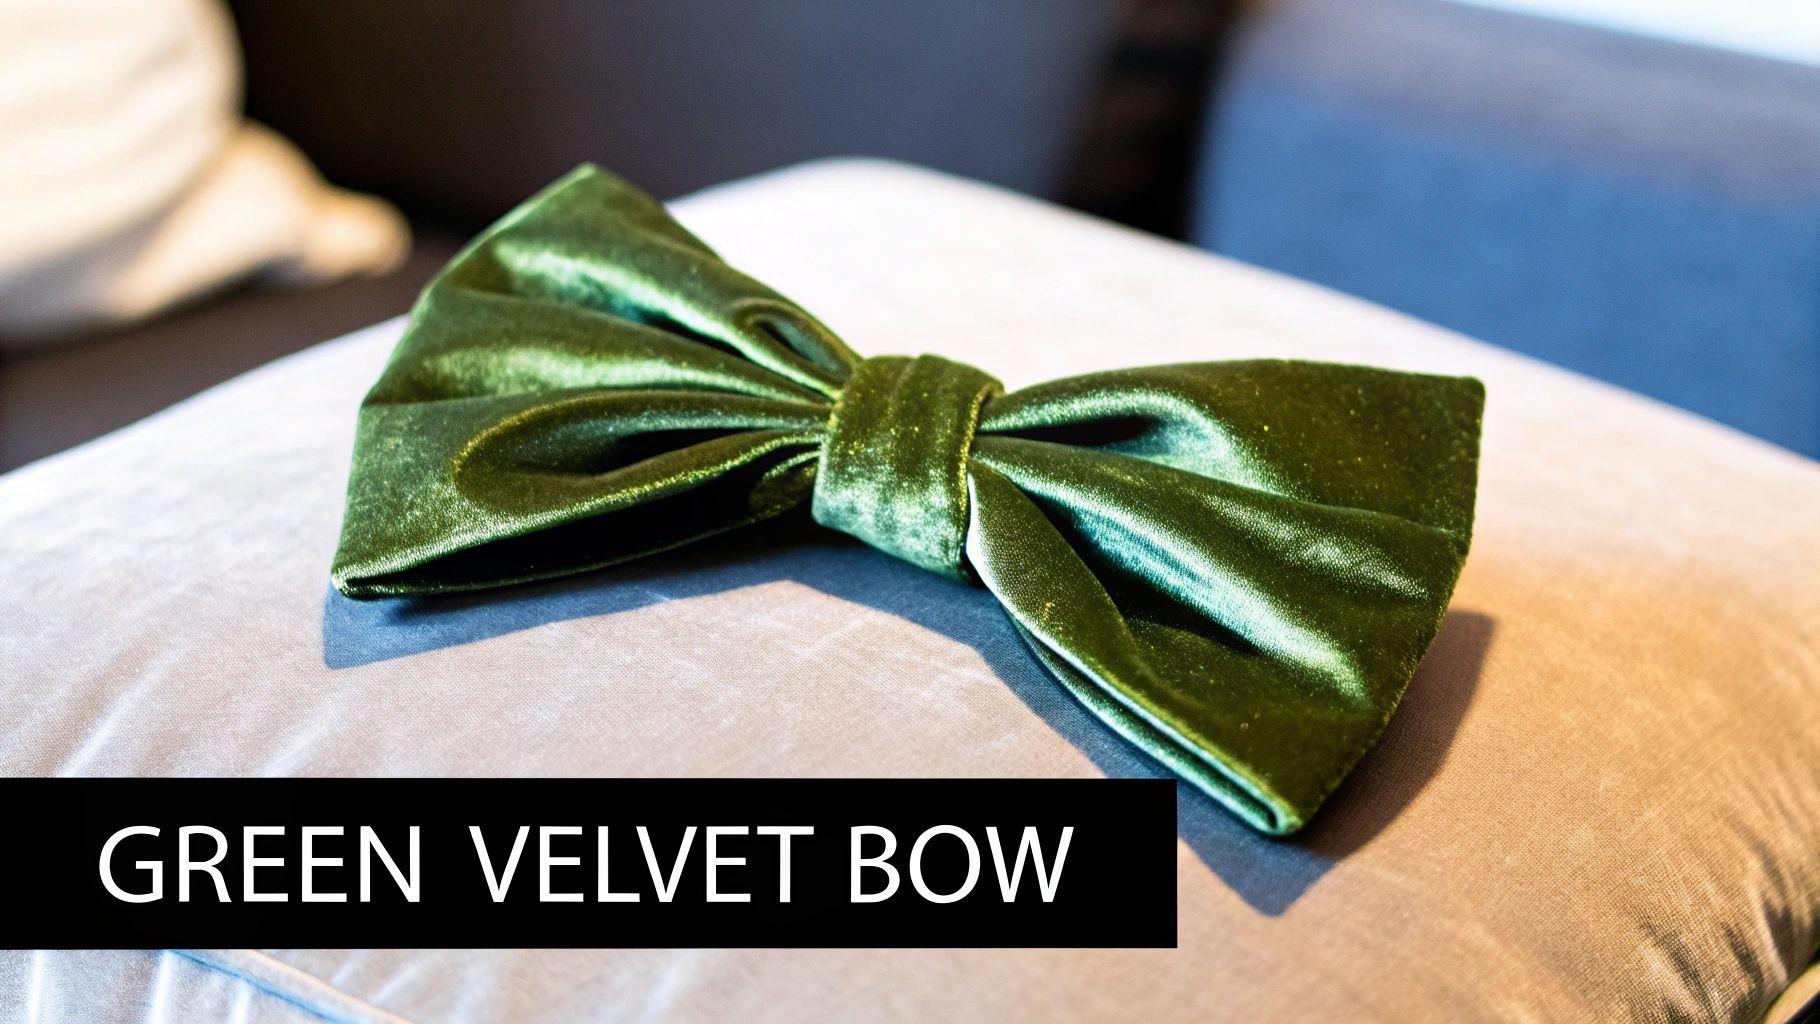
Tying a Classic and Elegant Bow
Creating a beautiful, classic bow from a length of green velvet ribbon is one of those skills that looks complicated but is surprisingly simple to master. The trick is to forget those confusing diagrams and focus on the feel and flow of the ribbon itself, breaking the process down into a few manageable actions.
The aim here is to create two perfectly symmetrical loops that stand tall and full, cinched in the middle with a neat, tight knot. This foundational technique is the basis for nearly every bow you'll ever need, from a simple gift topper to a more elaborate wreath decoration.
Starting Your Bow
First things first, cut a generous length of your green velvet ribbon. I always say it’s better to have too much than too little—you can always trim the tails later. Lay the ribbon flat on your work surface and form your first loop. The size of this loop will determine the final size of your bow, so play around with it until you're happy.
Next, create a second loop of the exact same size on the opposite side. Cross the right loop over the left one, creating a central point where they meet. This crossover is the key to getting that iconic bow shape and is where you'll eventually secure everything.
Securing and Shaping
With your two loops perfectly balanced, it's time to create the knot. Take the loop that is now on top and pass it down and underneath the bottom loop, pulling it through the hole in the centre. Now, gently start to tighten it. This is the moment your bow really comes to life.
Don't pull it completely tight just yet. You want to leave a little bit of wiggle room to adjust the loops and tails until they look just right. It's all about small adjustments at this stage.
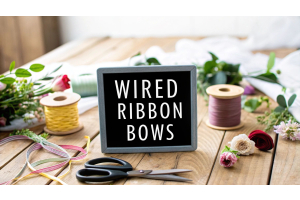
For a clearer view of these fundamental steps—measuring, folding, and securing—this simple visual guide can be a great help.
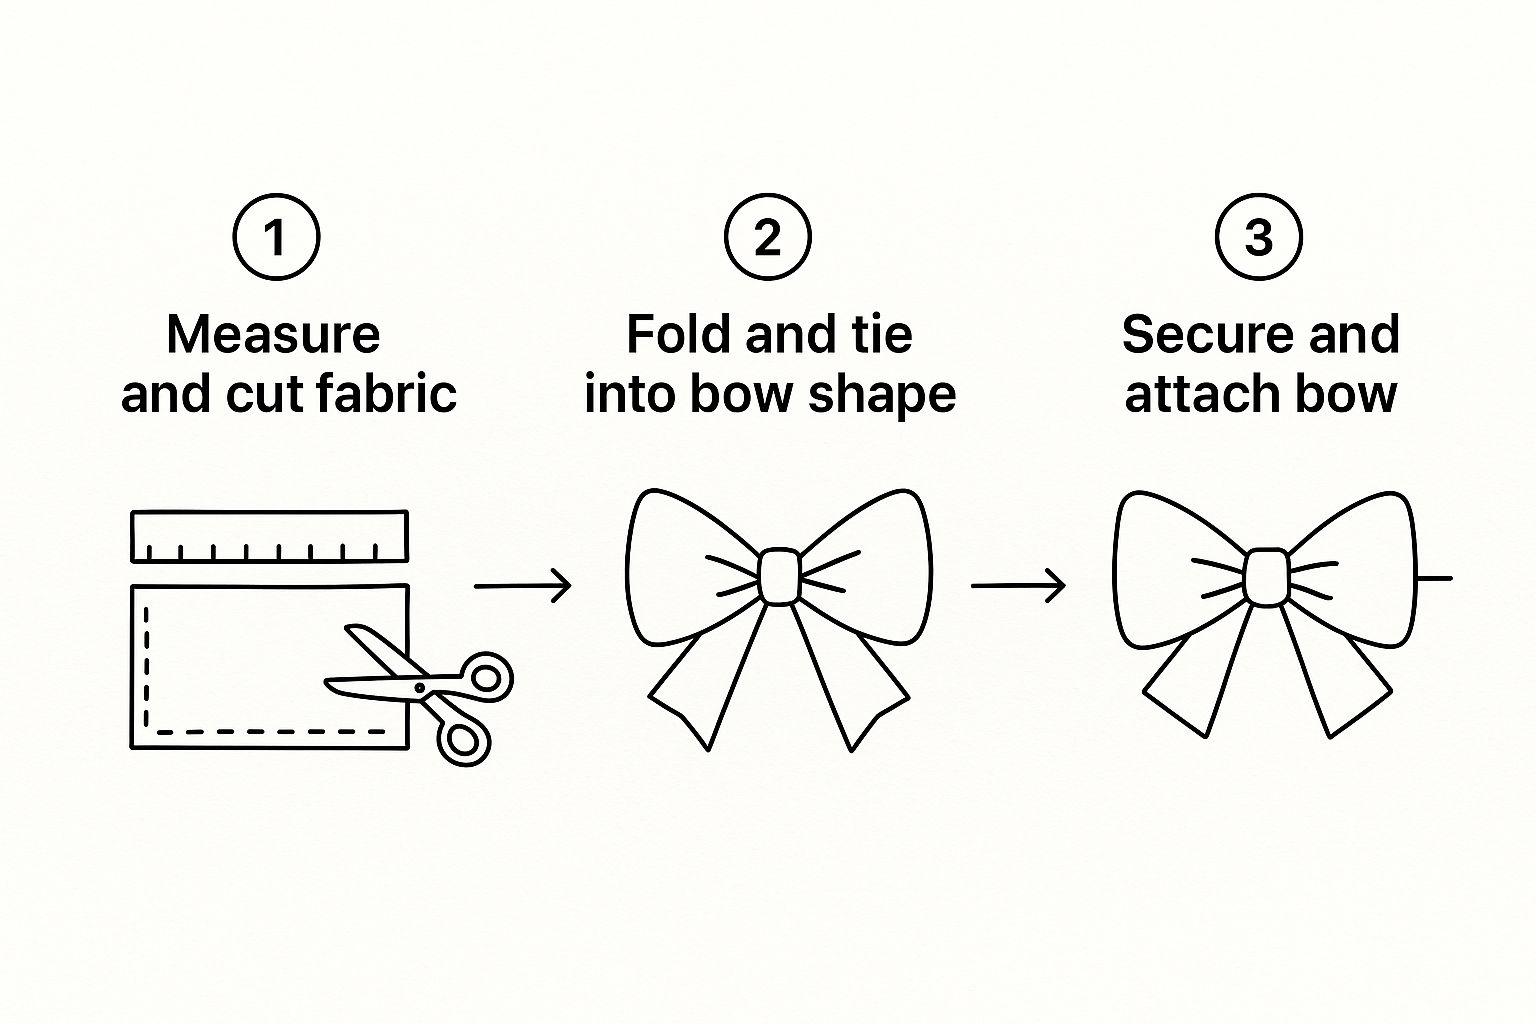
This visual breaks down the entire motion into its core components, making it much easier to get the hang of that folding and tying action.
The Final Flourish
Once the knot is secure, you can focus on the finishing touches. Gently fluff up the loops, pulling and shaping them until they have a lovely full, rounded appearance. If you're using a wired ribbon, this is your chance to really add some volume and structure.
Finally, let's sort out the tails. For a classic, professional finish, you can either cut the ends at a sharp diagonal or create a "V" shape, often called a dovetail. To do this, simply fold the tail in half lengthwise and cut upwards from the folded corner.
Insider Tip: To make sure your green velvet bow keeps its perfect shape, especially on wreaths or larger projects that get moved around, you can discretely secure the back of the central knot with a thin piece of floral wire or even a tiny dab of hot glue.
This little extra step provides fantastic stability, keeping your loops perky and your tails hanging just so. For those looking for even more guidance, you can find a whole host of easy ribbon bow instructions for perfect bows that explore different styles and techniques.
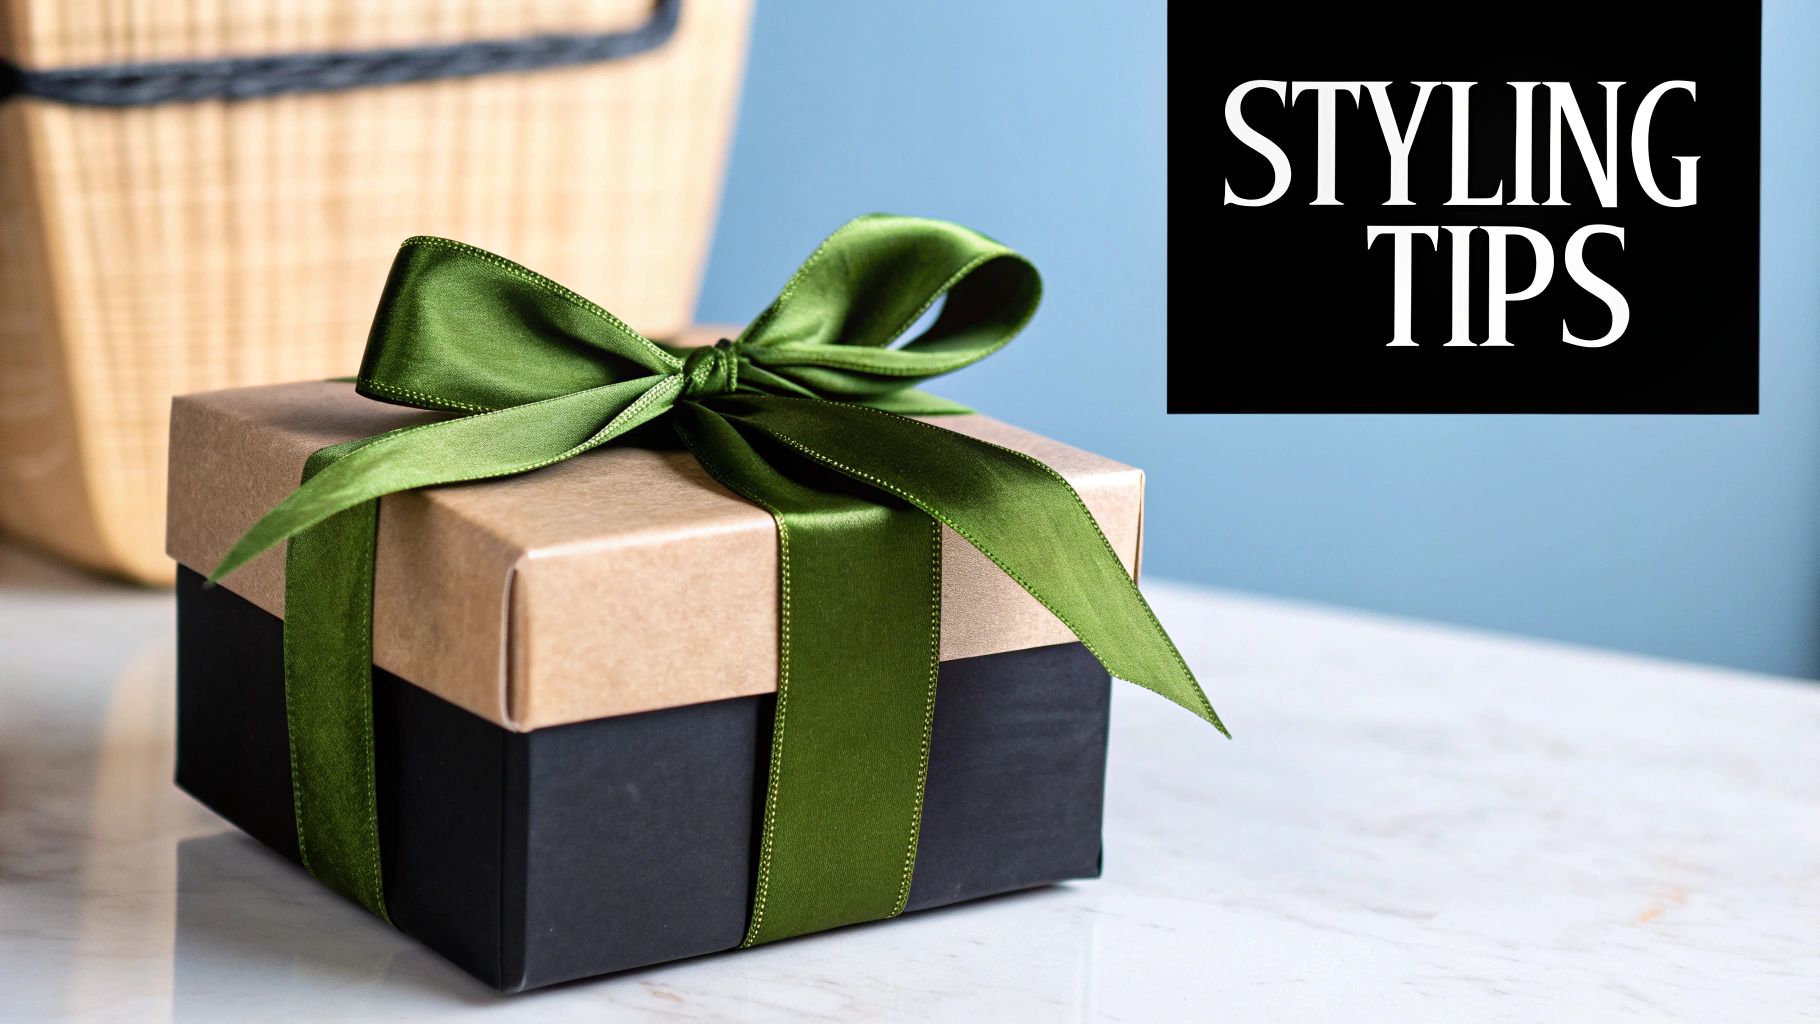
Right, so you’ve mastered the art of tying the perfect green velvet bow. Now for the really fun part! A beautifully crafted bow is so much more than just a finishing touch; it can be the absolute star of the show, whether you're styling your home, wrapping a gift, or even jazzing up an accessory. The possibilities are genuinely endless once you start thinking outside the gift box.
Your home, for instance, is a wonderful canvas for these lush creations. Imagine a series of green velvet bows tied along a fireplace mantel or woven into a staircase bannister – it instantly creates a classic, festive atmosphere. Don’t just stop at garlands, though. A single, oversized bow on a front door wreath makes a sophisticated statement, welcoming guests with a touch of understated elegance.
Elevating Your Gift Presentation
When it comes to wrapping, your handmade bow can turn a simple present into a truly memorable experience. Instead of just one bow, why not try a cluster? Grouping three small-to-medium bows together in the corner of a gift creates a rich, textured look that feels incredibly luxurious.
You can also make the bow the focal point of a larger arrangement. Picture a gift basket filled with artisanal treats; a large, beautifully tied green velvet bow on the handle not only secures the cellophane but becomes the centrepiece. This approach works wonderfully for housewarming gifts or special occasion hampers.
Expert Tip: For a truly custom look, thread a small sprig of fresh eucalyptus or a dried orange slice through the central knot of your bow before attaching it to a gift. This little detail adds a delightful scent and a touch of organic charm.
From Home Decor to Personal Style
The versatility of a green velvet bow goes far beyond decorations and gifts. Smaller bows, made with narrower ribbon, can be transformed into chic personal accessories.
- Stylish Hair Accessories: Attach a small, perfectly tied bow to a simple hair clip or slide for an instant touch of classic style. It's a lovely way to add a pop of colour to an outfit.
- Chic Bag Charms: A slightly larger bow can be tied around the strap of a handbag, adding a bespoke and fashionable accent.
- Outfit Embellishments: For the more adventurous, a green velvet bow can be pinned to the collar of a blouse or the lapel of a coat, serving as a unique, temporary brooch.
This growing appreciation for velvet in home decor is no coincidence. In the UK, the use of velvet bows, especially during the festive season, has seen a remarkable increase, heavily influenced by what we see on social media. Sales of velvet ribbons and pre-made bows often jump by over 30% during the Christmas period, cementing their place in the nation’s festive culture. You can read more about how Christmas bows became a major decorating trend on House Beautiful UK.
How Artisans Are Redefining the Velvet Bow
The simple green velvet bow is having a bit of a moment. Once a staple of the DIY craft box, it’s now being reimagined as a genuinely high-quality product by skilled artisans and independent creators. This isn't just a fleeting trend; it reflects a much bigger shift in how we shop, showing a real appreciation for bespoke items that have character and are built to last—a welcome change from mass-produced alternatives.
We're seeing these classic bows transformed into true statement pieces, from luxurious hair clips to sophisticated accents on formal wear. Small businesses are leading the charge, focusing on premium materials and meticulous craftsmanship to create bows that you'll treasure for years.
The Allure of Handmade Quality
The growing market for artisanal accessories really speaks volumes about the demand for quality. People are increasingly drawn to the rich texture and durability of premium fabrics, and they're willing to seek them out.
For instance, some crafters create stunning bottle green velvet bow ties using 100% cotton velvet, a material loved for its deep, matte finish and incredible resilience. These handmade pieces showcase a level of detail and care that factory production simply can't replicate. You can see this dedication firsthand in how the Belfast Bow Company crafts their velvet accessories.
This movement is about more than just good looks; it's about investing in items that are made well. An artisan bow isn't just a decoration—it's a small piece of functional art, crafted with care.
This commitment to quality means each green velvet bow is more than an accessory; it becomes a lasting keepsake. If you're looking to find something truly unique, exploring services that offer custom handmade bows is a fantastic way to discover a piece made just for you.
Common Questions About Making Velvet Bows

Even with the best instructions in the world, a few questions always seem to pop up when you start working with a luxurious material like velvet. I’ve found that getting the technique just right often comes down to a few small adjustments, so let’s get into some of the most common queries I hear. It’ll help you perfect your bow-making skills in no time.
One of the biggest frustrations is creating a beautiful bow only to have it look limp or crushed. The secret is to handle the ribbon gently from the get-go, always forming full, airy loops right from the start.
How Do I Stop My Velvet Bow From Looking Flat?
To avoid that dreaded flatness, it’s all about being proactive. If you’re using a wired ribbon, let it do the work for you! Use your fingers to gently shape and round out each loop, giving them plenty of volume and life. That internal structure is exactly what wired ribbon is designed for.
But what if a non-wired bow gets accidentally squashed? A little steam can work wonders. Hold it a safe distance from a steaming kettle or the steam function on your iron—but never let the hot metal touch the fabric! This will help revive the velvet’s delicate pile and bring it back to its former glory.
A Crucial Tip: Proper storage makes all the difference. Try to avoid squashing your finished bows under other items. If you’re making them ahead of time for an event, store them lightly in a box where they have room to breathe and maintain their gorgeous shape.
What Is the Best Way to Attach a Bow to a Wreath?
When you’re adding a bow to a wreath, security is your top priority. From my experience, the most reliable method is to use a thin piece of floral wire. It’s simple: just loop the wire through the back of the bow’s central knot.
Then, twist the wire ends tightly around a sturdy branch on the wreath, making sure to hide the wire within the foliage. This ensures your green velvet bow stays perfectly in place, even if it’s on a front door exposed to the wind and rain. For gifts, it's much easier—a small dab of hot glue or tying it directly into the wrapping ribbon works beautifully.
Ready to start creating? Ribbons4u Ltd has a stunning selection of high-quality velvet ribbons perfect for any project you have in mind. You can find your ideal shade and width over at https://ribbonsforyou.com.


 Facebook
 Twitter
 Pinterest