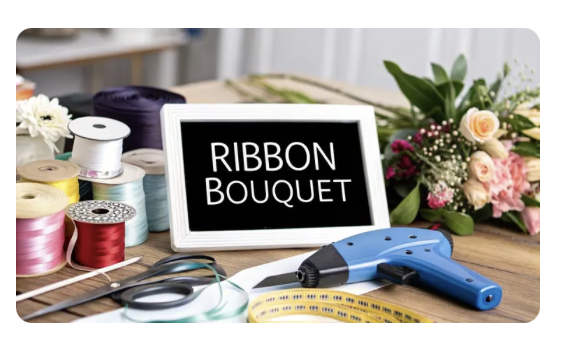
The right ribbons, a solid base, and the proper assembly tools are the secret ingredients to a stunning finished piece.
Getting Your Crafting Essentials Together
The final quality of your bouquet really comes down to the materials you start with. While you can fold just about any ribbon, choosing the right types and using the correct structural bits and pieces is what elevates your project from a simple craft into a gorgeous keepsake. A little preparation now saves you from those frustrating moments of hunting for a missing tool halfway through.
This isn't just a shopping list; it's about understanding why each item plays a vital role. The UK florist industry, which has grown into a market worth an estimated £1.1 billion, knows that professional quality comes from using the right tools for the job.
Let's break down exactly what you'll need. I've put together a handy table to give you a quick overview of your toolkit, along with my personal recommendations on why each item is so important.
Your Ribbon Bouquet Toolkit
| Material | Recommended Type | Why You Need It |
|---|---|---|
| Ribbons | Wired Grosgrain or Satin for structured flowers; Double-faced Satin or Organza for softer looks. | This is the star of the show! The type of ribbon directly impacts the look and feel of your flowers. |
| Fabric Scissors | A sharp, dedicated pair. | Ensures you get clean, crisp cuts without fraying your beautiful ribbons. |
| Floral Wire | 20-24 gauge is a good all-rounder. | This forms the "stem" for each flower, giving you control over placement and arrangement. |
| Green Floral Tape | Standard florist's tape. | Wraps the wire to create a more realistic stem and helps it grip the base securely. |
| Hot Glue Gun | A standard craft glue gun with clear glue sticks. | Your best friend for securing folds and attaching the flower heads firmly to their wire stems. |
With these items ready to go, you've set yourself up for a successful and enjoyable crafting session.
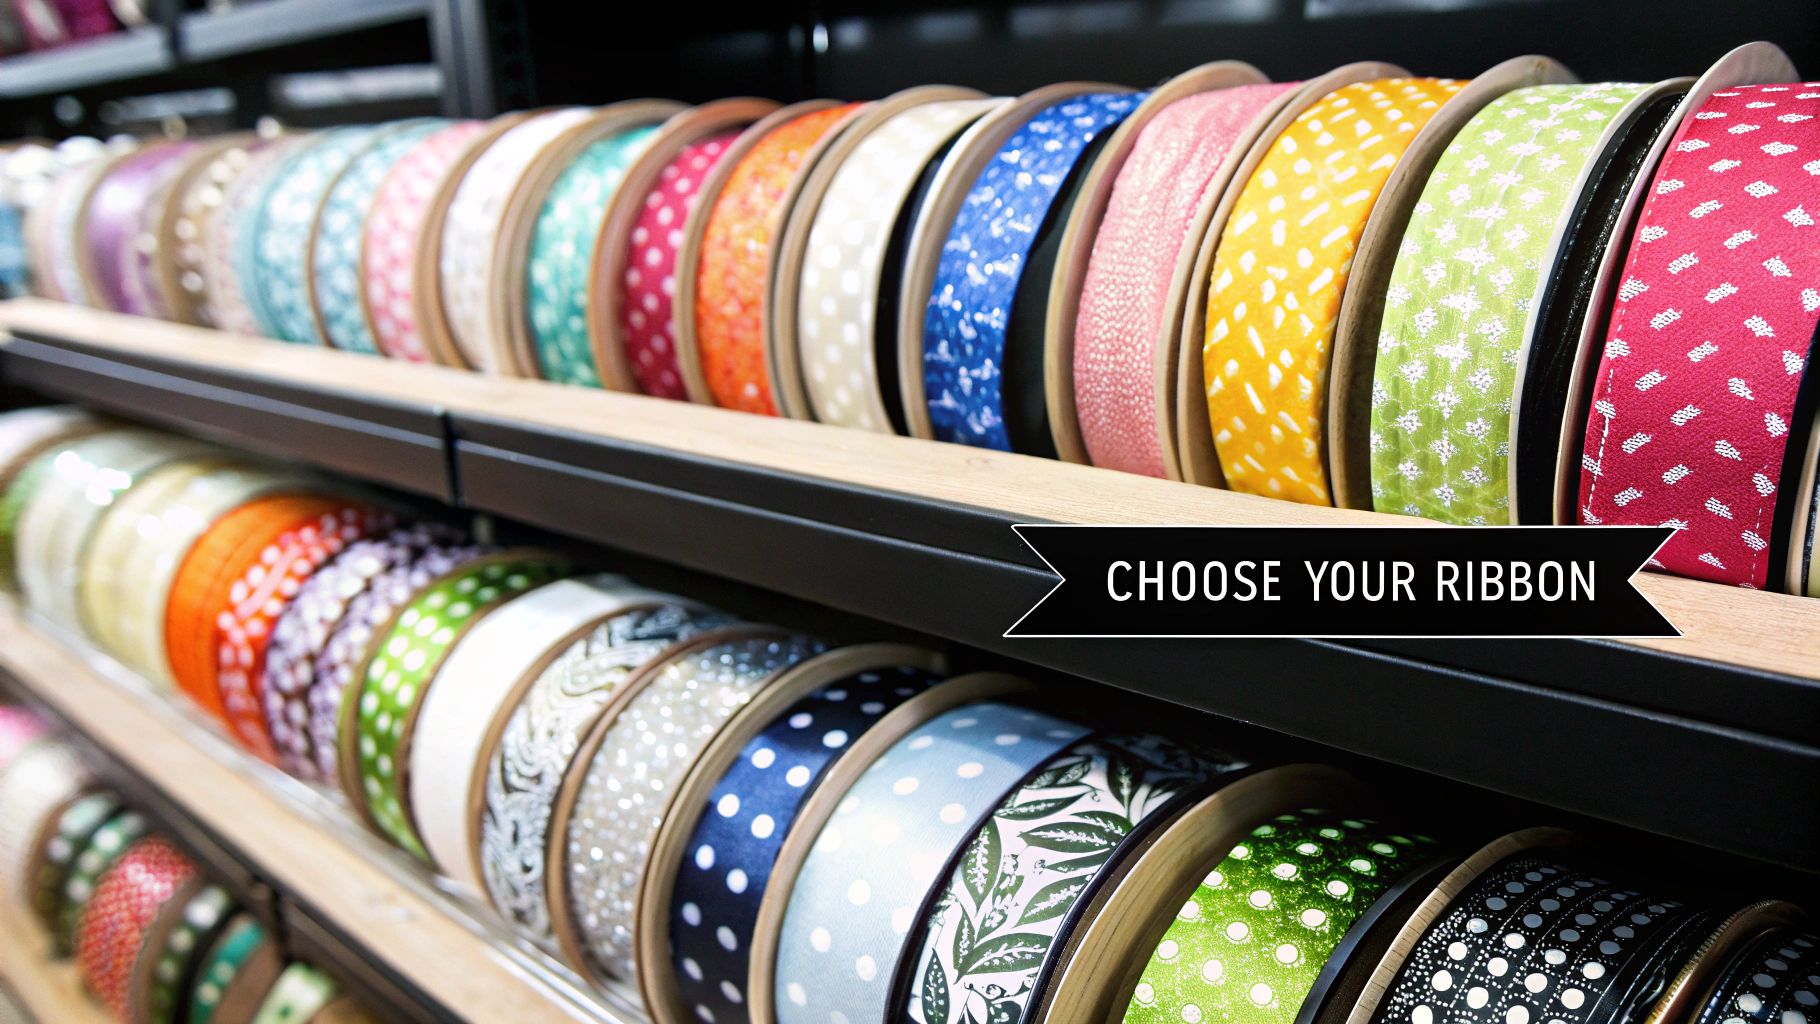
Choosing Your Ribbons: The Main Event
Your ribbon is, without a doubt, the star player. Different types will give you dramatically different results.
If you're aiming for defined, structured flowers like roses or peonies, a wired grosgrain or satin ribbon is your best bet. That little wire hidden in the edge is a game-changer; it lets you sculpt petals and loops that hold their shape perfectly.
For a softer, more romantic vibe, I'd reach for unwired double-faced satin or a delicate organza. These are just wonderful for creating looser, flowing blooms and for adding gentle, cascading tails to your finished bouquet.
My personal tip is to always buy a bit more ribbon than you think you'll need. It's so much better to have extra for those final flourishes than to run out when you're just a couple of flowers short of a full bouquet.
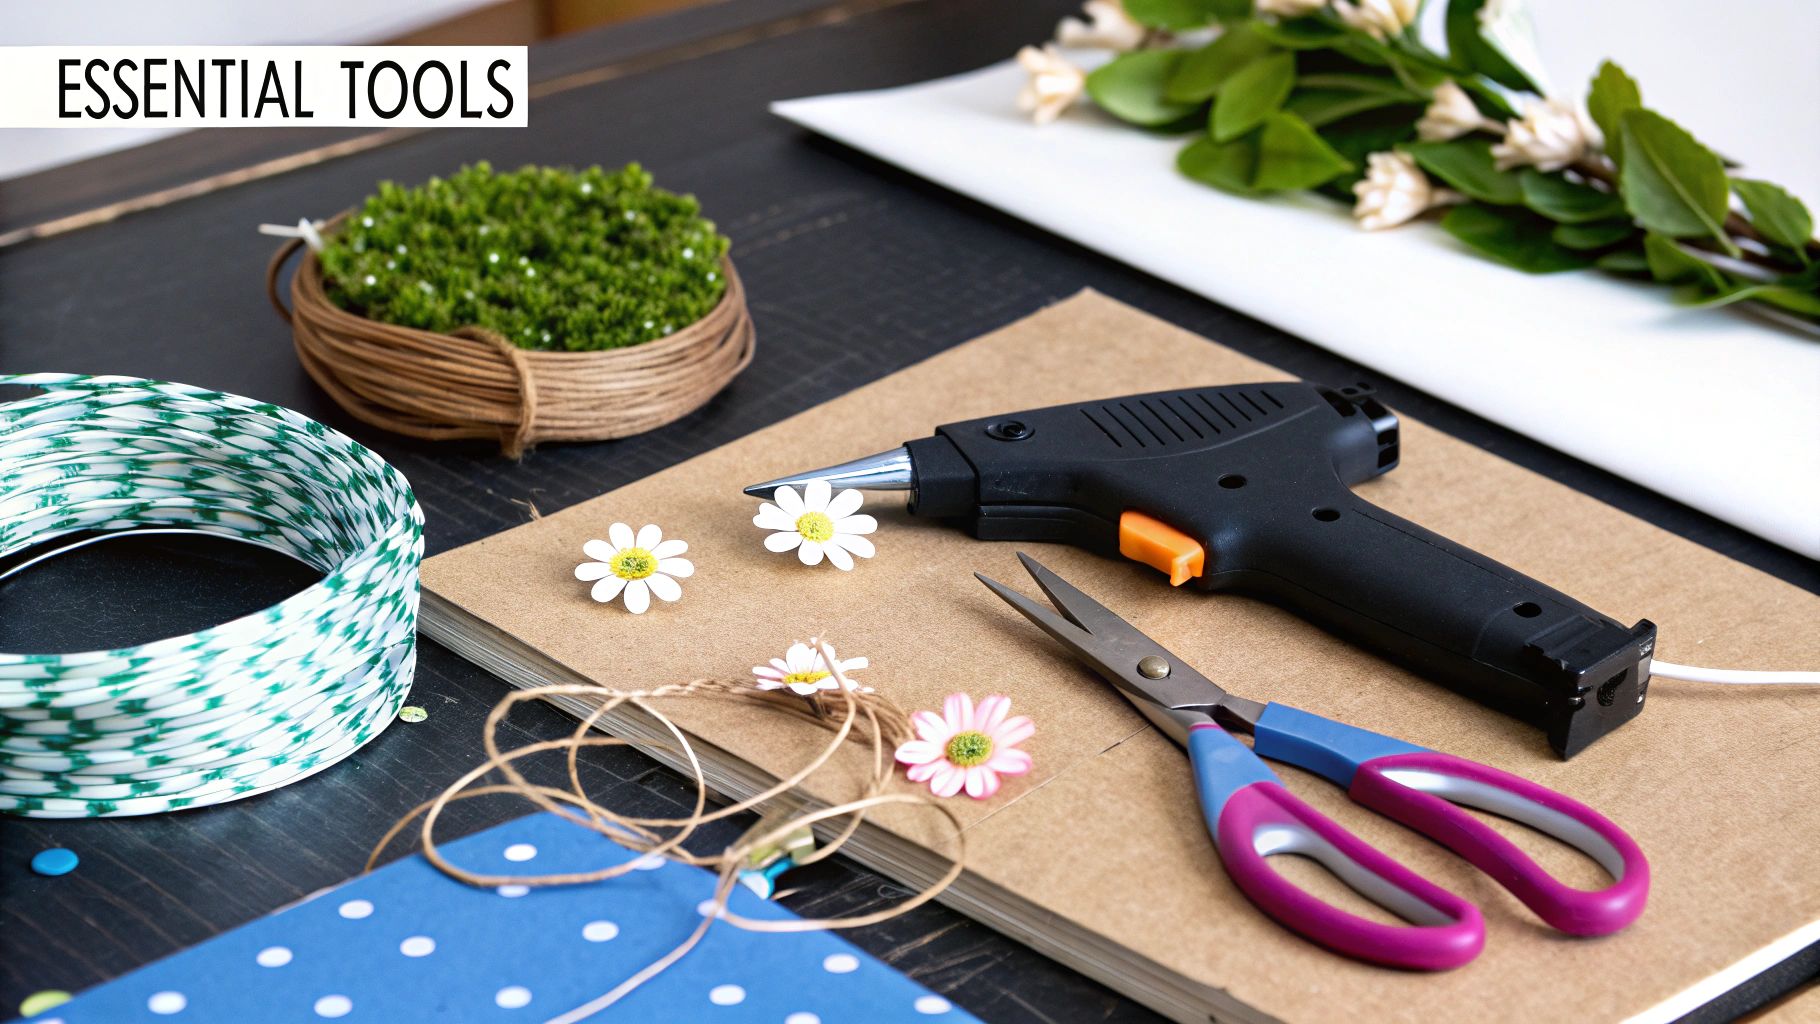
The Tools and Supports Holding It All Together
Beyond the ribbon itself, a few key tools are non-negotiable if you want to build a durable and professional-looking arrangement. These items provide the hidden structure that keeps everything in place.
- Sharp Fabric Scissors: Please don't use your kitchen scissors! A dedicated pair for fabric will give you clean, fray-free cuts every single time.
- Floral Wire (20-24 gauge): This becomes the "stem" for each of your ribbon flowers. It’s what allows you to arrange and position them precisely within the bouquet.
- Green Floral Tape: You'll use this to wrap the wire stems. It not only gives them a more finished, stem-like look but also helps them grip better inside the bouquet base.
- Hot Glue Gun: Absolutely essential for tacking down folds as you create your flowers and for securing the finished flower heads onto their wire stems.
If you need to stock up on these core crafting necessities, you can explore a great range of supplies from glue guns to scissors and other accessories to get you started.
Designing Your Bouquet’s Colour Story
The real magic of making a ribbon bouquet happens before you even think about folding a single loop. It all starts with the colour story. This is where you get to play designer, crafting a cohesive and visually stunning palette that sets the entire mood for your creation.
Think of it like being a painter, only your palette is filled with textures as well as colours. A bouquet made from just one type of ribbon can sometimes look a bit flat. But when you start mixing different materials—like shimmering organza, classic satin, rustic burlap, or even plush velvet—you create an incredible depth.
Honestly, this is the secret to a professional-looking finish. For instance, try pairing a wide, matte grosgrain ribbon with a thin, metallic one. The contrast catches the light beautifully and gives the whole arrangement a multi-dimensional quality that makes a handmade bouquet look truly special.
Building Your Colour Palette
Your choice of colours will give the bouquet its personality, so this is where you can let your creativity shine. You don't need a degree in colour theory, just trust your gut and keep a few simple ideas in mind. The best place to start is by deciding on the overall feeling you want to evoke.
- Monochromatic: Sticking to different shades and tones of a single colour (like blush, rose, and a deep magenta) always looks elegant and sophisticated.
- Complementary: If you want something that really pops, pair colours from opposite sides of the colour wheel. Think royal blue and a sunny orange for a bold, high-impact design.
- Analogous: For a more serene and harmonious feel, choose colours that sit right next to each other on the colour wheel, such as a gentle blend of yellows, greens, and blues.
Once you’ve settled on a main colour, building out the rest of the palette becomes much easier. A fantastic way to get inspired is to simply browse by colour and see what combinations jump out at you. You can shop by colour right here to get the ideas flowing. It’s often the most enjoyable part of the whole process!
Matching a Theme and Estimating Quantity
If your bouquet is for a specific event, like a wedding or a holiday, let that guide your colour choices. A festive Christmas bouquet naturally calls for rich reds, forest greens, and glittering golds. For a spring wedding, you might lean towards softer pastels like lavender, mint, and pale lemon.
An interesting thing to note is how the current economic climate is shaping design. With rising costs in the floral industry, the mantra for many creators is 'choose impact over quantity,' and this applies perfectly to ribbon bouquets. It’s all about using high-quality, beautiful ribbons to create a luxurious feel without needing an enormous amount of material.
From my experience, a good rule of thumb for quantity is to plan for 2-3 metres of ribbon for every medium-sized "flower" you want to make. For a decent-sized bouquet, I’d suggest having at least 25-30 metres of ribbon in total, spread across your different colours and textures. And a final tip: always buy a little bit extra. There’s nothing worse than running out mid-project
Mastering Key Ribbon Folding Techniques
Right, this is where the real magic happens. It’s time to take those lovely spools of ribbon and start shaping them into beautiful, intricate blooms. This is the part of the project where your creativity really gets to shine, and honestly, it's the most satisfying bit.
Forget any fears of complicated diagrams or baffling instructions. I'm going to walk you through a couple of my go-to methods for creating everything from simple, bouncy loops to more detailed rosettes that look surprisingly like the real thing. The goal here is to get you comfortable and confident with the techniques.
Once you get the hang of the basic flow, it's actually quite simple. This little graphic breaks it down visually.

As you can see, after gathering your materials, the heart of the work is in creating all your individual ribbon flowers and loops before you start building the bouquet itself. So, let's get folding.
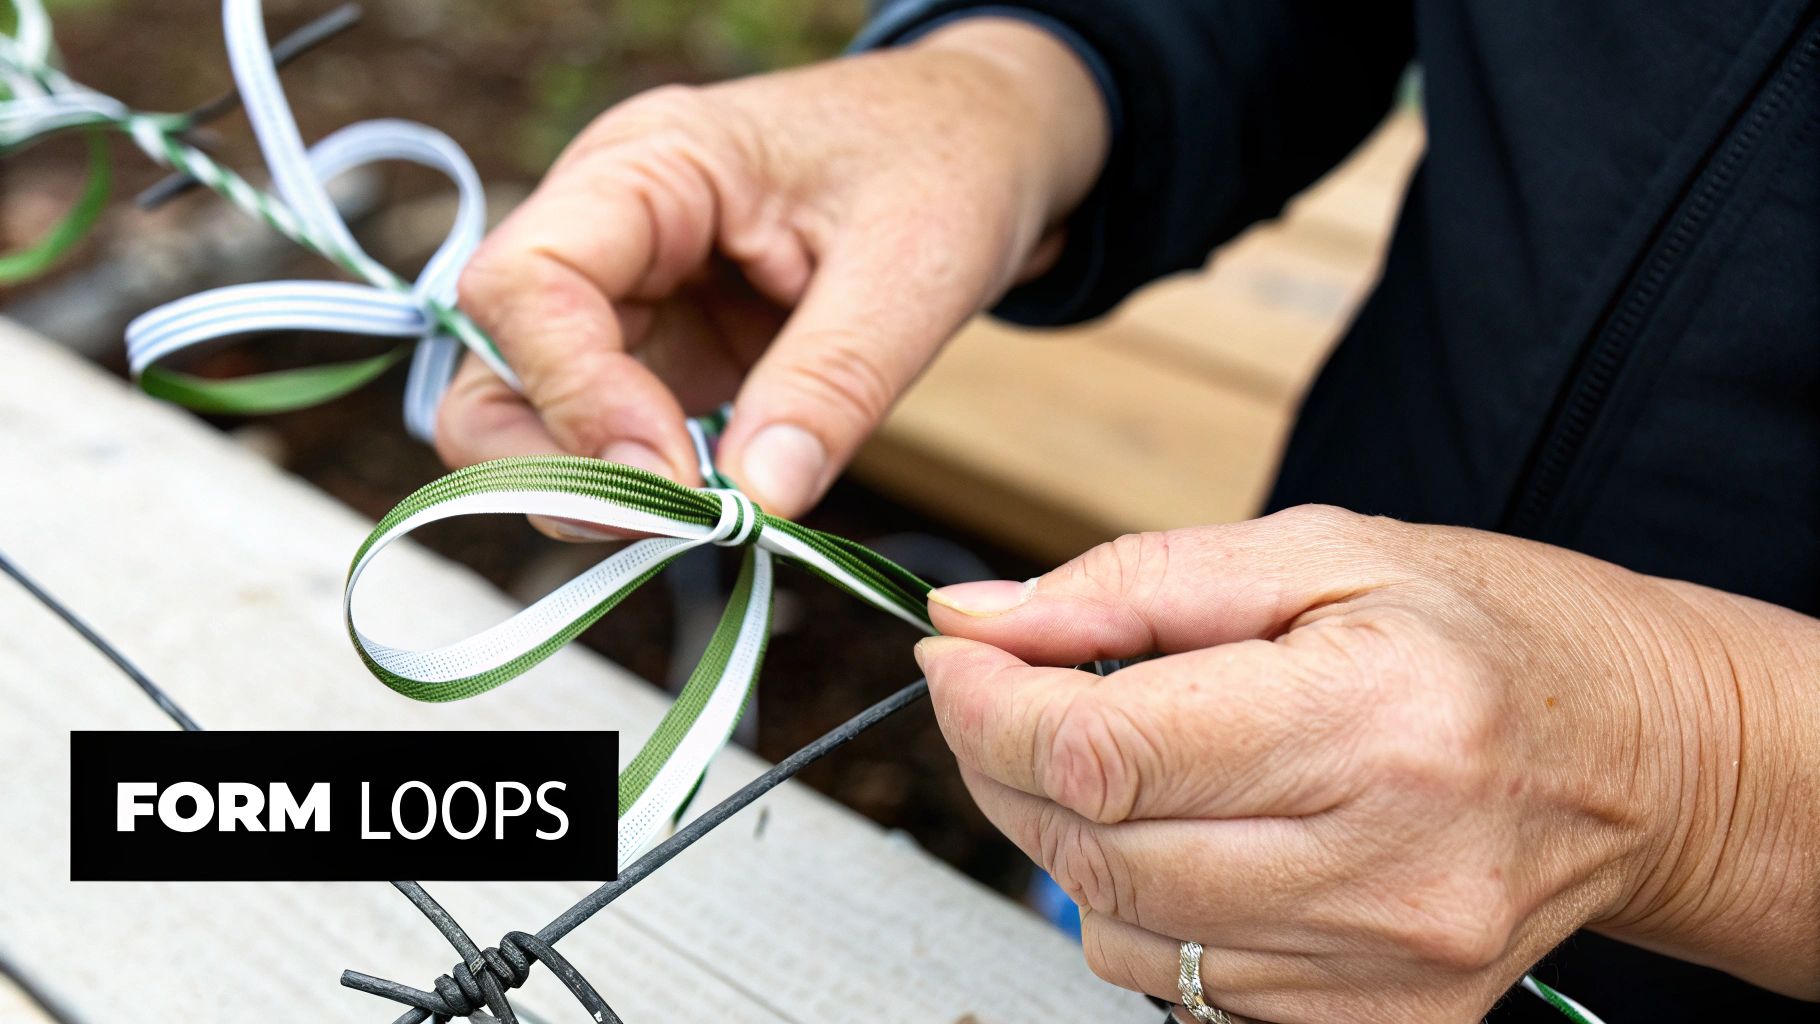
Creating the Foundational Ribbon Loop
The humble folded loop is probably the most crucial element in your bouquet-making toolkit. It's incredibly versatile. You can use it as a filler to create volume, as a base layer for your bigger flowers, or even as a simple accent on its own. Think of it as a fundamental brushstroke for a painter – simple but so effective.
To make one, grab a piece of wired ribbon – say, a 15cm length of 3cm-wide ribbon. Fold it in half to make a teardrop shape, letting the ends overlap by about 1cm. A quick dab of hot glue will secure the ends together. Then, just glue this little loop to the top of a floral wire stem. That's it!
Make a whole bunch of these, and you'll quickly build up the lush fullness that gives a ribbon bouquet its impressive, professional look. You can also play around by using different lengths of ribbon or even trying a non-wired type for a much softer, more relaxed loop.
Crafting a Classic Ribbon Rosette
Now for the showstopper: the ribbon rosette. It looks wonderfully complex, but I promise the technique is surprisingly easy once you find your rhythm. This flower works best with a wider ribbon, something around 4-5cm, which gives the petals a nice bit of body.
Start with a long piece of ribbon – you’ll want at least a metre. To begin, fold one top corner down diagonally to form a small triangle and pop a dot of glue on it to hold it in place. This creates the tight little bud at the very centre of your rose.
From this central point, you’ll start to twist and fold the ribbon around it. Make a half-twist in the ribbon away from you, then fold it down and wrap it around the bud, securing it with a little more glue at the base. Each twist-and-fold creates a brand-new "petal."
Pro Tip: Try not to pull the ribbon too tightly. The real beauty of a rosette comes from letting the folds have a bit of breathing room and space. A looser wrap gives you a fuller, more open bloom, whereas a tighter wrap creates a delicate, just-opening bud.
Keep this twisting and wrapping process going until your rosette is the size you want it. Secure the final end at the back with a generous blob of hot glue and attach it to a wire stem.
For adding smaller, delicate details to your bouquet handle or tucking in amongst the larger flowers, you might also find our guide on how to make a small bow in a hurry helpful. It uses very similar folding principles and is fantastic for layering in different scales and styles.
Assembling Your Bouquet Like a Florist
With a colourful collection of handcrafted ribbon flowers and loops ready to go, it's time for the most rewarding part: arranging them into a stunning, cohesive masterpiece. This is where your individual creations come together to tell a story. It helps to think of yourself as a florist, focusing not just on the flowers but on the overall structure, balance, and flow of the design.
The secret to a professional-looking ribbon bouquet isn’t just in the flowers themselves, but in the foundation you build. A sturdy handle and a well-planned base are what make the difference between a loose bundle of ribbons and a polished, durable keepsake that holds its shape perfectly.
Building Your Bouquet's Core Structure
Before you start adding your beautiful ribbon blooms, you need a solid base to work from. My preferred method, which I've found gives the best results, is to create a stable handle first. Grab a bundle of about 5-7 wooden dowels or some sturdy floral wire stems and bind them together tightly with floral tape. This simple step forms the core of your bouquet’s handle, giving it strength and a good grip.
Next, you’ll want to get a bouquet holder or a piece of dry floral foam. I find a foam dome is ideal as it gives you a lovely rounded surface to work with. Securely glue this foam dome right onto the top of your handle bundle. This structure gives you a solid, three-dimensional canvas, allowing you to insert your wired ribbon flowers with precision and confidence.
Securing the ribbon flowers deep into the foam is crucial. Just like decorating a Christmas tree where you tuck ribbons deep inside the branches, pushing the wire stems well into the foam ensures they are stable. It also gives the bouquet a wonderful sense of depth, making it look like the flowers are emerging naturally from the centre.
Applying Design Principles to Your Arrangement
With your base prepared, you can begin the really creative part. This is where artistic principles like balance and rhythm come into play, but don't let that sound intimidating! It's really just about arranging your flowers in a way that looks pleasing to the eye.
A technique that has never failed me is to work in layers, starting from the centre and moving outwards.
Establish the Shape with Large Flowers
First things first, place your largest, most eye-catching ribbon rosettes. These are your focal points. I like to arrange three or five of them in a loose triangle or circular pattern near the centre of the foam dome. This immediately establishes the primary shape of your bouquet.
Fill in with Medium Blooms
Next, start filling the gaps with your medium-sized flowers. Position them around and slightly below your main flowers. Remember to keep turning the bouquet as you work; you want it to look balanced and beautiful from every single angle, not just the front.
Add Volume with Loops and Accents
The final layer is where you use those simple ribbon loops you made earlier. Tuck them into any remaining spaces to add volume, texture, and a sense of fullness. This is also the perfect time to pop in any smaller accent flowers or other decorative bits you might have.
- For a classic round posy, keep all the flower heads at a relatively even height.
- If you dream of a more dramatic cascading bouquet, allow some of your flowers and ribbon loops to be placed on longer wire stems. This lets them trail elegantly downwards from the main body of the arrangement for that beautiful, flowing look.
Adding Polished Finishing Touches
This is where the real magic happens. The final details are what take a lovely handmade project and turn it into a stunning, personalised keepsake. It’s your chance to add those special touches that give the bouquet its unique character and make it completely unforgettable. With your main flowers now assembled, let's look at how to really make your creation shine.
Think about adding a few strategic embellishments that catch the light and add a touch of luxury. A few carefully placed pearls, some sparkling rhinestones, or even a vintage brooch pinned right in the centre of a large rosette can completely transform your bouquet. A good quality craft adhesive or your hot glue gun will be your best friend here for securing these precious details.
Creating an Elegant and Comfortable Handle
A beautifully wrapped handle isn't just for show; it also makes the bouquet comfortable to hold throughout the day. I always start by wrapping the entire handle base with a neutral-coloured ribbon, like ivory or white. Begin just under the foam dome and work your way down to the bottom, securing the start and end points with a dab of hot glue for a neat, clean finish.
For an extra layer of elegance, you can add a criss-cross or braided effect over this base layer. Using a contrasting or complementary ribbon here adds fantastic texture and a truly professional feel.
The goal is to make the handle look as intentional as the rest of the bouquet. Don't treat it as an afterthought. A polished grip not only looks better but feels more substantial and secure in hand.
Once the handle itself is wrapped, it's time to think about adding some cascading ribbon tails. These create beautiful movement and a bit of drama as the bouquet is carried.
- Select Your Ribbons: Choose a mix of ribbon widths and textures that match your bouquet's colour story. I find a combination of wide satin and narrow organza works wonderfully together.
- Cut Varying Lengths: Cut several pieces of ribbon, making sure to vary the lengths. Having some short and others long and trailing gives a much more natural, dynamic look.
- Attach Securely: Fold each ribbon piece in half. Attach the looped end to the base of the bouquet handle, just under the flowers. You can use hot glue or simply tie them on tightly.
Incorporating Greenery and Textural Elements
To really elevate the visual appeal and add a touch of realism, consider weaving in some faux greenery or other textural bits and pieces. Delicate faux eucalyptus, some fern leaves, or even small sprigs of baby's breath tucked between the ribbon flowers can soften the overall look and add a lovely organic shape.
Interestingly, this desire for natural-looking touches is part of a much bigger trend here in the UK. In 2023, UK flower production hit a value of £179 million, which was an 8.5% increase from the year before. This ‘grown not flown’ movement is inspiring everyone from professional florists to home crafters to bring in more seasonal and natural elements, even when working with materials like ribbon. You can explore more about these trends in British floral design to get inspired.
Your Ribbon Bouquet Questions, Answered
As you get stuck into making your first few bouquets, you're bound to have questions. It happens to everyone! Think of this as your personal troubleshooting guide, where I’ll walk you through some of the most common queries I hear from fellow crafters. Getting these little details right is what makes the process fun and guarantees a result you'll be proud of.
We'll cover everything from how much ribbon to buy (the eternal question!) to making your creation last a lifetime.
How Much Ribbon Do I Really Need for a Bouquet?
This is probably the number one question crafters ask, and the truth is, it really depends on the style you're going for. As a solid starting point, for a standard, 20cm (about 8-inch) round bouquet, you'll want to have somewhere between 30 to 50 yards of ribbon in total.
But that number can swing quite a bit. A single, lush Kanzashi-style rose made from a wider 4cm ribbon might use up a full yard all by itself. On the other hand, smaller accent loops and simple folded flowers will use much, much less.
My best piece of advice? Always buy about 20% more ribbon than you think you need. It’s far less stressful to have some left over for wrapping the handle or adding a few extra cascading tails than it is to run out just as you're hitting your stride.
What’s the Secret to Making the Bouquet Last Forever?
Durability is all about solid construction, and your hot glue gun is your best friend here. Don't be shy with it! Make sure you're using it to securely fasten every single fold and attachment point.
A crucial step is making sure each wired stem is thoroughly glued right into the base of its ribbon flower. Then, as you assemble the bouquet, push those stems deep into your bouquet holder or foam base. This creates a really stable internal structure that simply won't fall apart.
For preserving it as a keepsake for years to come, the main enemy is sunlight. Keep the finished bouquet out of direct sun, as those UV rays will sadly cause even the most vibrant colours to fade over time. A dust-free spot is also ideal for keeping it looking as beautiful as the day you made it.
Can I Mix Fresh Flowers with a Ribbon Bouquet?
Yes, you absolutely can! It creates a stunning mixed-media look, but it does require a different approach than a ribbon-only design. You can't use the typical dry foam base that works so well for purely ribbon creations.
Instead, you’ll need to grab a bouquet holder that contains wet floral foam. This special kind of foam is designed to hold water and keep fresh flower stems hydrated. You can then push both your wired ribbon flowers and the stems of your fresh flowers right into the same base, creating a seamless arrangement.
Looking for a simpler method that avoids wet foam? You could create your ribbon bouquet as planned. Then, just before your event, snip a few hardy fresh flowers—think orchids or craspedia—and pop them into tiny floral water tubes. These can be tucked discreetly amongst the ribbon blooms for a pop of freshness.
At Ribbons4u Ltd, we stock an extensive selection of high-quality ribbons perfect for bringing your bouquet ideas to life. From luxurious satin to structured grosgrain, find everything you need for your next crafting project on our website.


 Facebook
 Twitter
 Pinterest