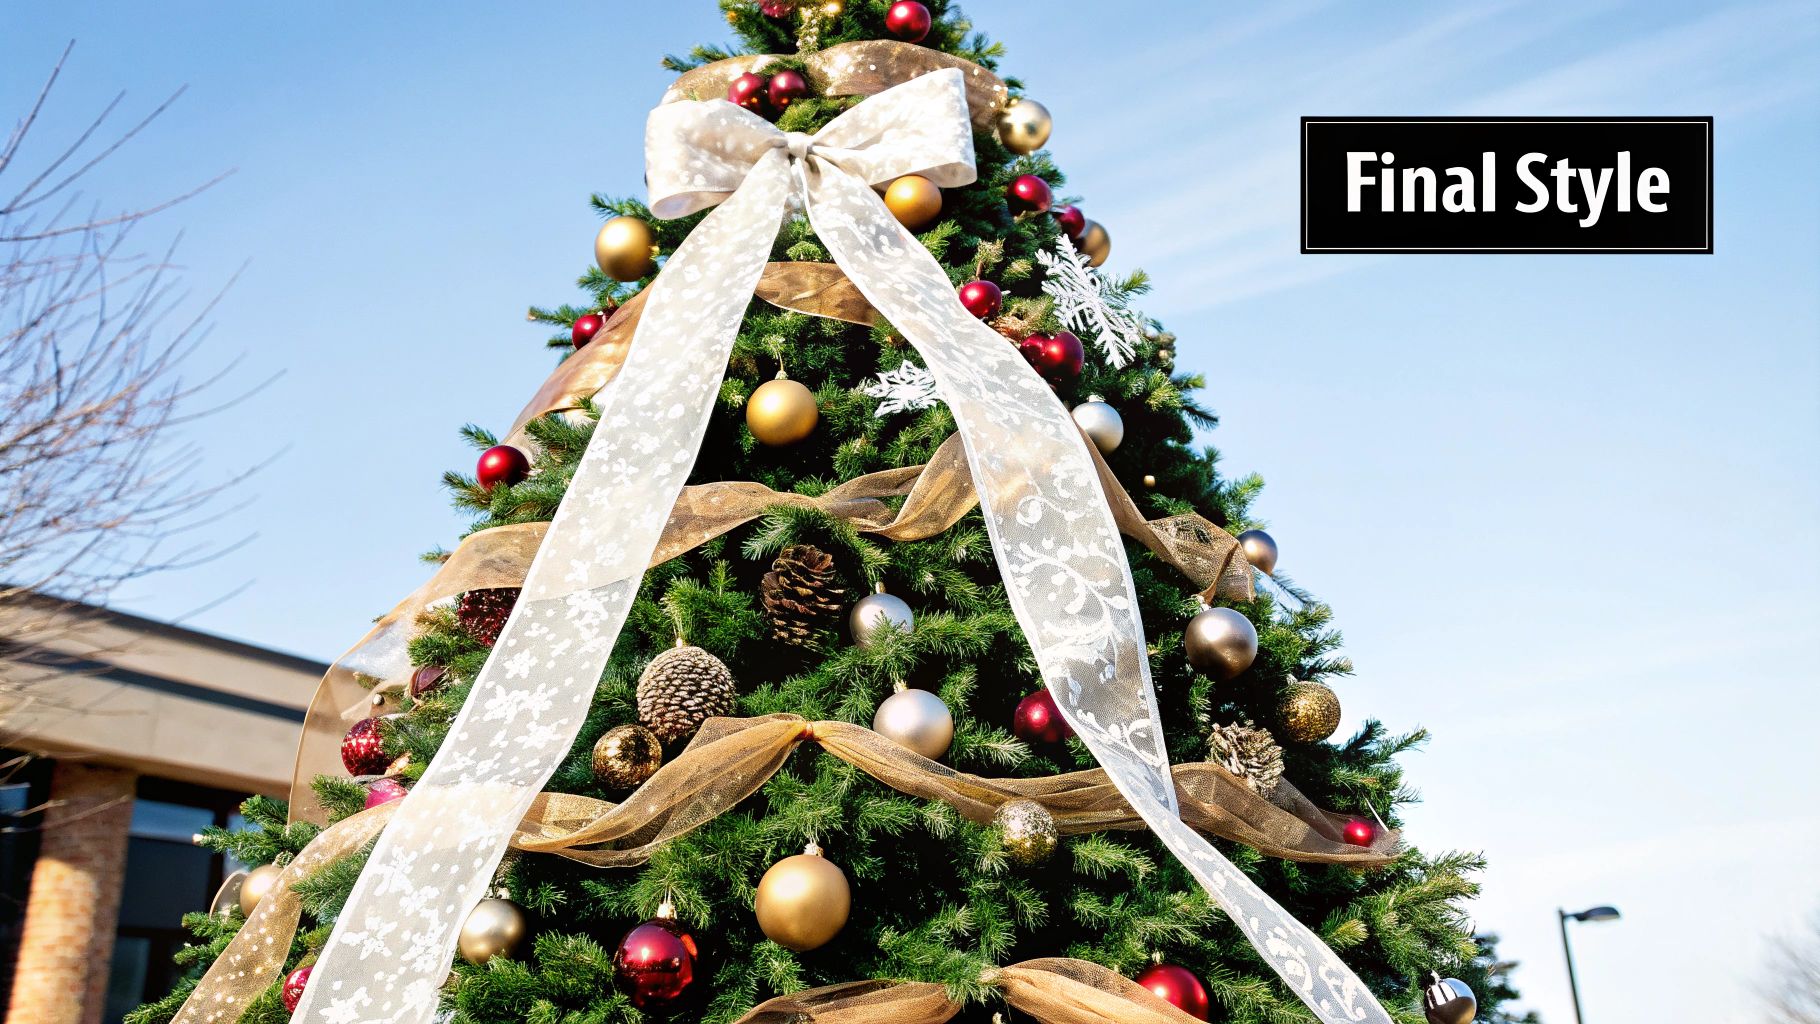
Decorating Christmas Trees with Ribbons for a Festive Look
If you want to give your Christmas tree that full, professionally styled look, ribbon is the secret weapon you need. It's the one thing that can truly elevate your tree from a simple collection of ornaments into a cohesive, stunning masterpiece. The trick is to stop thinking of ribbon as a final touch and start seeing it as a foundational element that adds colour, texture, and flow.
Why Ribbon is Your Tree's Best Friend
 Have you ever wondered how some Christmas trees look so incredibly lush and luxurious, while yours feels like it’s missing something? Nine times out of ten, the answer is the clever use of ribbon. It’s the single most effective way to tie all your decorations together.
Ribbon acts as a visual guide, gracefully leading your eye around the tree and connecting all the different elements. It's also a fantastic trick for filling in any sparse areas between branches, creating an illusion of fullness that lights and baubles just can't achieve on their own. This is especially helpful for artificial trees that might not be as dense as you’d like.
Weaving Tradition with Modern Style
Decorating trees with ribbons is a practice with deep roots here in the UK. The tradition really took off in the Victorian era, back in the 1860s when Christmas trees became a popular fixture in British homes. Alongside candles and homemade sweets, ribbons and bows were some of the very first decorations used, a tradition that has beautifully evolved over time. You can read more about this festive history over at DIY Garden.
This long history gives us so much creative freedom today. You can honour that classic Victorian style or go for a completely modern look, all through your choice of ribbon.
Setting the Mood with Texture and Colour
The material and style of your ribbon have a massive impact on the overall feel of your tree. Before you buy, think about the atmosphere you want to create in your home.
- For a Rustic Charm: Burlap, hessian, or plaid ribbons instantly bring a cosy, farmhouse Christmas vibe.
- For Luxe Elegance: If you're aiming for opulence, you can't go wrong with sumptuous velvet or shimmering satin ribbons in deep jewel tones.
- For a Bit of Whimsical Fun: A glittery or brightly patterned ribbon can inject a playful and joyful energy into your decor.
By picking the right ribbon, you're essentially choosing your tree's personality. It becomes the unifying thread that pulls your entire holiday theme together, making every other decoration look more intentional and impactful.
Choosing the Right Ribbon for Your Decorating Style
Picking the perfect ribbon for your Christmas tree is about so much more than just finding a colour you like. It’s about texture, structure, and finding the right material to really bring your decorating vision to life. The ribbon you choose sets the stage for your entire theme, so it pays to be a bit thoughtful.
The sheer variety out there can feel a bit much, but it really just boils down to two things: how you want it to look, and how you need it to behave. Once you've got that figured out, your options will narrow down quite nicely.
Understanding Ribbon Materials
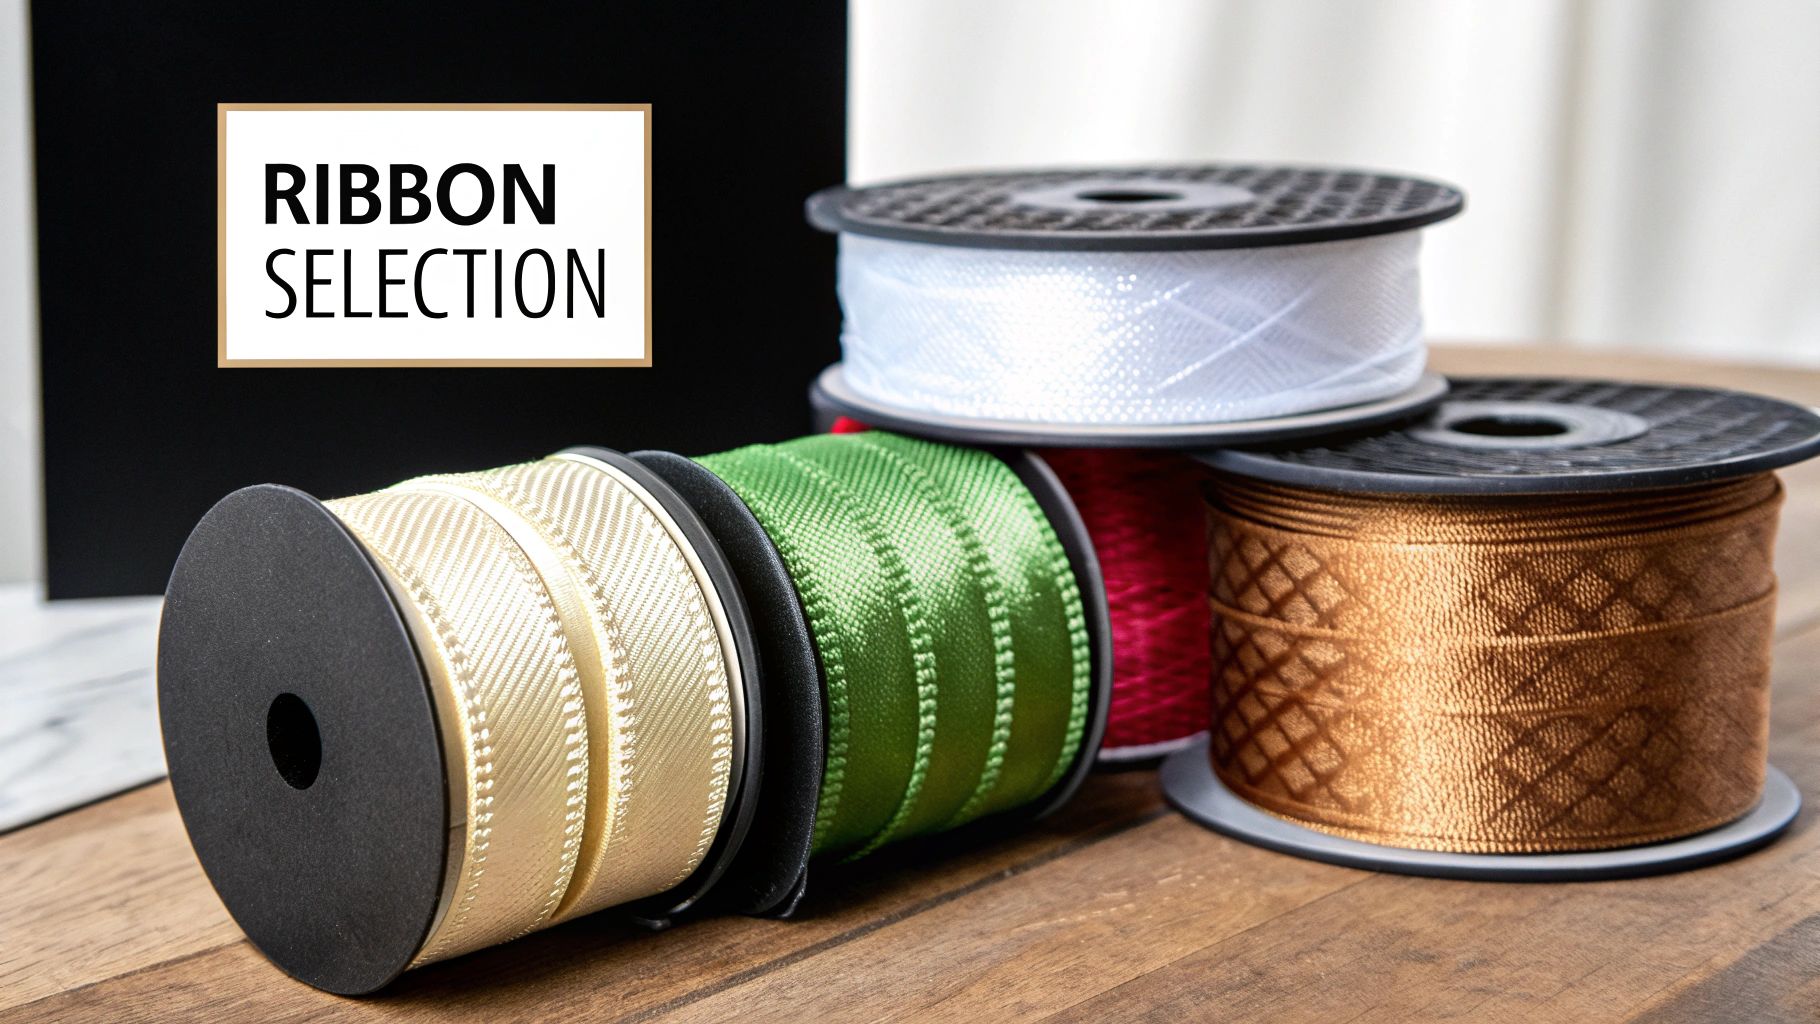
The material of your ribbon is what will truly define the final look. Each type has its own feel and workability, making some better suited to certain styles than others.
Here's a quick look at the most common ribbon materials you'll come across:
- Wired Ribbon: This is a decorator's secret weapon. The thin, flexible wire hidden along the edges gives you incredible control. You can shape big, beautiful loops, create flowing cascades down the tree, and craft bows that hold their shape all season long. It’s absolutely essential for that full, professional look.
- Velvet Ribbon: For a touch of pure luxury, you just can't beat velvet. Its rich, deep texture catches the light beautifully, adding a real sense of opulence and warmth to your tree. It's a fantastic choice for classic, elegant, or even Art Deco themes.
- Satin Ribbon: Smooth, with a gentle sheen, satin is a timeless classic. It doesn't have the structure of a wired ribbon, but it drapes wonderfully, making it perfect for tying smaller, delicate bows onto the tips of branches.
- Organza or Sheer Ribbon: If you’re aiming for an ethereal, light-as-air feel, organza is the way to go. It adds a bit of sparkle and texture without overwhelming your other ornaments, letting the tree's fairy lights shine right through.
- Burlap or Hessian: For that cosy, rustic, or farmhouse style, the coarse, natural texture of burlap ribbon is unbeatable. It creates a wonderful, homey contrast against the soft needles of a pine tree.
With so many gorgeous Christmas ribbons available, from traditional tartans to glittering modern designs, you can easily find the perfect material to match your home's style.
To help you decide, here's a quick reference guide that matches materials to common decorating styles.
Ribbon Material and Style Guide
| Ribbon Material | Best For (Style) | Handling Tip |
|---|---|---|
| Wired Ribbon | Structured, full, professional, dramatic bows | Shape it confidently! The wire is there to hold any loop or twist you create. |
| Velvet | Luxurious, opulent, classic, vintage | Best for simple drapes or large, soft bows. Avoid overtightening knots. |
| Satin | Elegant, classic, traditional, delicate | Ideal for smaller bows on branches; its drape is its best feature. |
| Organza/Sheer | Ethereal, whimsical, modern, light | Layer it with other ribbons for added texture and depth. |
| Burlap/Hessian | Rustic, farmhouse, woodland, natural | Embrace the frayed edges for an authentic look. Don't aim for perfect loops. |
Choosing the right ribbon material is the first step, but the next question is always, "How much do I actually need?"
Calculating How Much Ribbon You Need
There's nothing more frustrating than getting halfway through decorating your tree only to realise you've run out of ribbon. A good, reliable rule of thumb is to have at least 3 metres (around 10 feet) of ribbon for every vertical foot of your tree.
So, for a pretty standard 7-foot tree, you'll want to start with a minimum of 21 metres (that's about 70 feet) of ribbon.
Pro Tip: I always recommend buying at least one extra spool. If you're planning on creating big, billowing loops or a really dense, wrapped design, you will definitely use more. It’s so much better to have a little left over for wrapping presents than to come up short.
Decorating Christmas trees with beautiful ribbons has become incredibly popular across the UK, where between 6 and 8 million trees are sold each year. The trend is clearly shifting towards higher-quality materials, with major retailers reporting that oversized bows made from lush fabrics like velvet are now seasonal best-sellers. In fact, a recent report showed that 85% of UK adults embrace having a tree. This move towards more textural and substantial ribbons shows a real desire for a truly polished and impactful final look.
Essential Prep for a Flawless Finish
A truly stunning ribbon display begins long before you even think about making the first loop. I’ve learned over the years that taking a little time for some key prep work is the secret ingredient. It’s what separates a frustrating, tangled mess from that flawless, professional finish we’re all after.
Think of it as creating the perfect canvas for your masterpiece. If you have an artificial tree, that means committing to a proper 'fluffing'. Seriously, don't skip this! Work your way from the trunk outwards, separating and shaping every single branch. You want to eliminate any gaps and create a wonderfully full, lush appearance. For a real tree, a bit of strategic pruning can work wonders, opening up natural pathways for your ribbon to weave through.
Preparing Your Ribbon for Success
Once the tree is looking its best, it's time to turn your attention to the star of the show: the ribbon. The way you cut and handle it now makes a huge difference to the final look. Unfinished ends can fray and look messy in no time, completely undoing all your hard work.
A classic dovetail cut (you might also hear it called a fishtail cut) is my go-to method for a clean, decorative edge that holds up well. It's so simple. Just fold the end of the ribbon in half lengthwise and make one neat diagonal snip, cutting from the folded side up towards the outer edges. Unfold it, and you'll have a perfect, sharp V-shape.
Game-Changing Tip: Before a single piece of ribbon touches your tree, pre-shape it. Unspool a good length of wired ribbon and gently run your hands along it, coaxing it into soft curves and waves. This one small step gets rid of that stiff, straight-from-the-roll look and makes the draping process a million times easier.
Pre-shaping helps the ribbon fall into those natural, effortless cascades you see in magazines, rather than fighting you every step of the way. It’s a simple trick that helps you achieve that coveted, graceful flow. You can find a huge variety of wired-edged Christmas ribbons that are absolutely perfect for this, giving you both the structure you need and the style you want.
By taking these few preparatory steps, you’re setting yourself up for success. This initial effort honestly pays off, making the whole process of decorating your tree with ribbons far more enjoyable and the results infinitely more impressive.
Right, with your tree properly fluffed and your ribbons all prepped, it's time for the fun part. This is where we move from preparation to pure artistry, using a few tried-and-true techniques to bring your vision to life.
There are a handful of core methods for decorating a Christmas tree with ribbon, and once you get the hang of them, you can create wildly different looks. You can go for something structured and traditional or aim for a style that feels more organic and modern.
We'll walk through the most popular styles, each with its own distinct personality. Don't feel you have to stick to just one, either. I find that many of the most stunning, designer-level trees actually borrow elements from a couple of different methods to create a finish that’s truly one-of-a-kind. The secret is knowing how each technique works so you can adapt it to your tree.
The Timeless Vertical Cascade
The vertical cascade is a classic for a good reason—it brings instant elegance and height to any tree. With this technique, you're running ribbon from the top of the tree downwards, creating gorgeous, flowing lines that draw the eye up. It’s especially brilliant for making a tree feel taller and grander than it is.
To get this look, you’ll start near the top of your tree, but not right at the very peak. That spot is usually best saved for your tree topper. Instead, find a good, sturdy branch a little way down.
Here’s how I do it:
- Anchor your starting point: Take the end of your ribbon, give it a good pinch, and tuck it deep into the tree. I like to use one of the inner branches to secure it by giving the branch a firm twist around the ribbon. That’s your anchor.
- Create the first billow: Gently pull the ribbon outwards and downwards. Let it drape softly over the outer branches instead of pulling it taut. You're aiming for a soft, full loop or "billow."
- Tuck and repeat: About a foot or two down from where you started, tuck the ribbon back into the tree and secure it to another inner branch. This creates your first beautiful cascade.
- Shape the loop: Now, use your hands to shape that billow. This is where wired ribbon really proves its worth. You can push the sides in or puff it out to create a full, rounded shape that doesn't look flat or sad.
Just keep this process going as you work your way down the tree. When you hit the bottom, give the ribbon a neat dovetail snip. Then, you'll start a new cascade in another section, spacing them evenly around the tree to keep things looking balanced and polished.
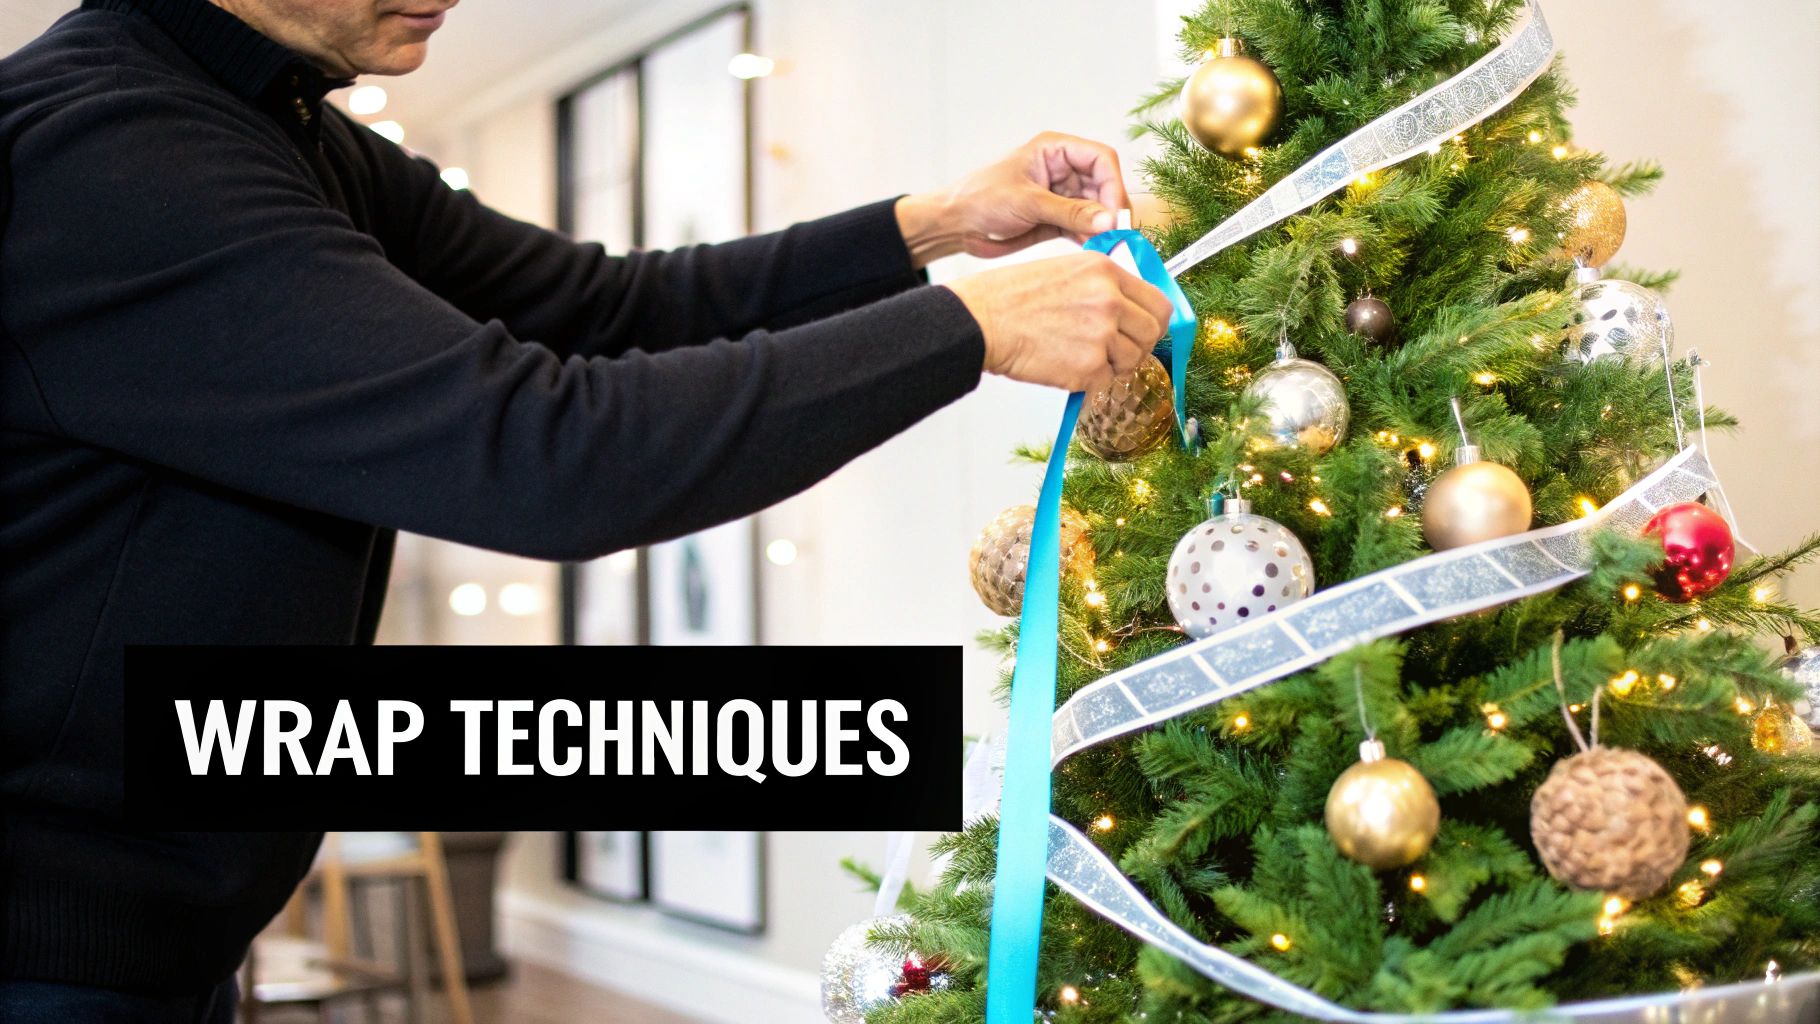
The Festive Horizontal Wrap
If you’re dreaming of that charming, candy-cane-striped look, the horizontal wrap is the method for you. This style involves wrapping the ribbon around the tree to create clean, circling lines. It gives off a more traditional vibe and is fantastic for unifying the tree's overall shape.
The trick to a successful horizontal wrap is keeping your spacing consistent and working at a slight diagonal angle. You aren't trying to create perfectly straight rings, but more of a gentle spiral that guides the eye around the tree.
Start near the top and work your way down, loosely draping the ribbon around the outside of the tree. Every so often, tuck the ribbon into a branch just to hold it in place and stop it from slipping.
The biggest mistake I see with this method is wrapping the ribbon too tightly. You want it to rest gently on the tips of the branches, not squeeze the life out of them. Let it weave in and out a little for a more natural, integrated look.
This is a great visual guide for the basic steps, no matter which style you choose.
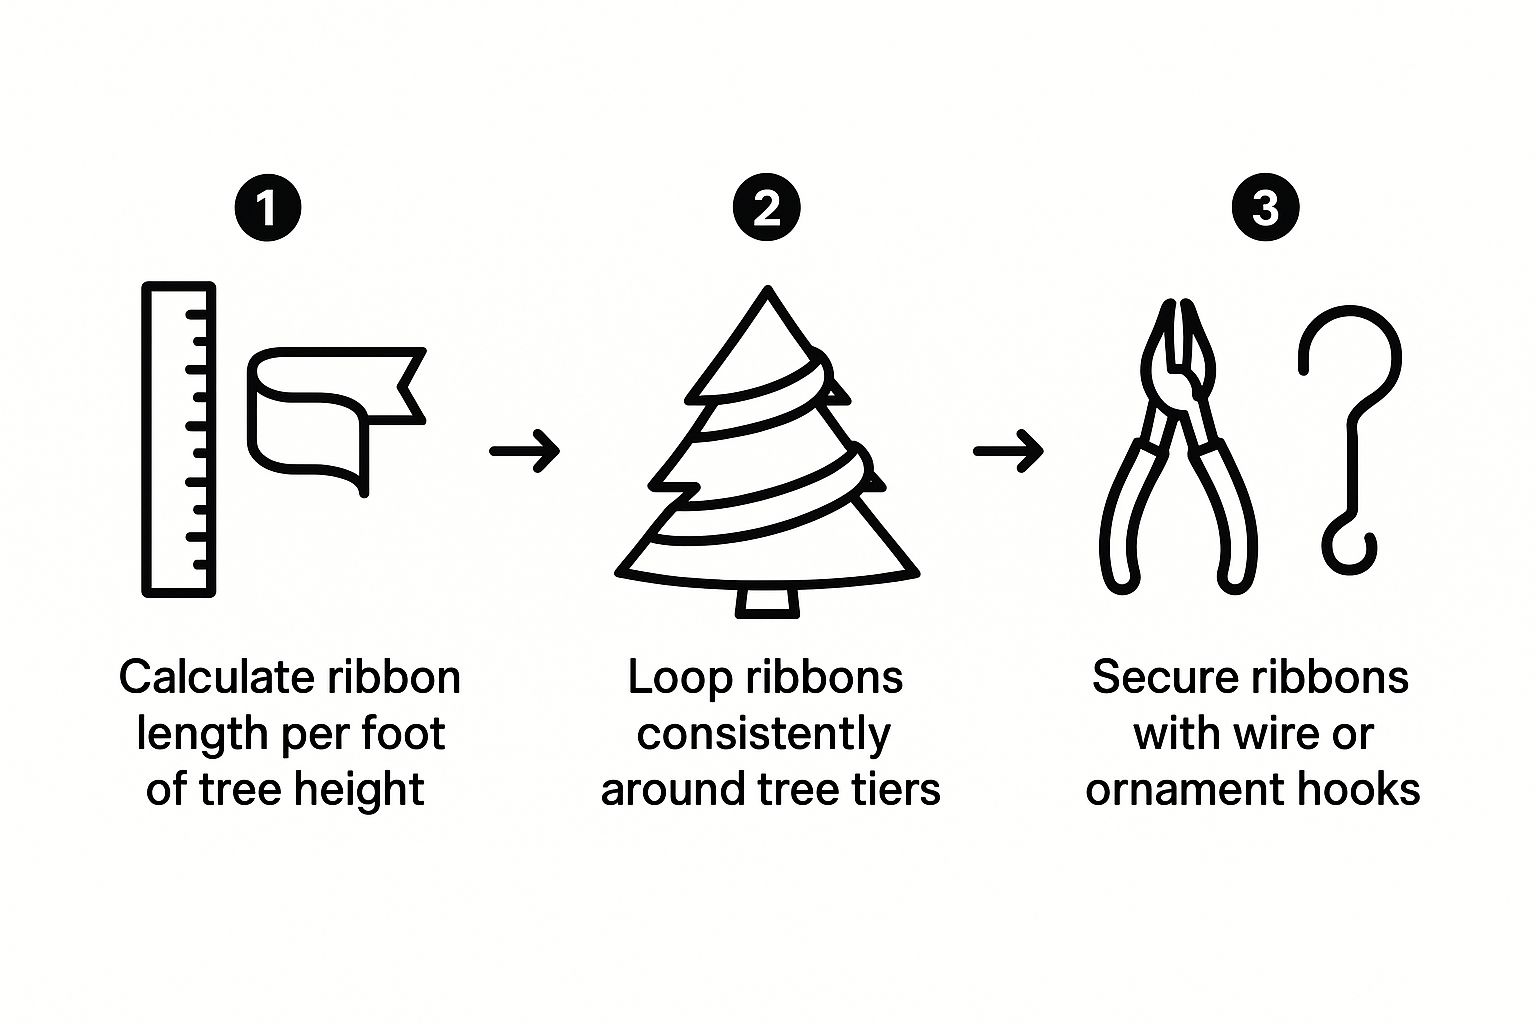
It really shows that whether you're going for a cascade or a wrap, the core moves—measuring, looping, and securing—are what give you that professional finish.
The Modern Random Weave
For a more organic, less structured feel, the random weave is a brilliant choice. This technique is probably the most forgiving of the bunch and is perfect for getting that full, designer look without any rigid lines. Instead of one long, continuous piece of ribbon, you’ll be working with several shorter strips.
Go ahead and cut your ribbon into pieces roughly 2 to 4 feet long. Then, you'll take each piece and use that "tuck and billow" method we talked about for the vertical cascade, just on a smaller scale.
- Pinch one end of a ribbon strip and tuck it deep into a branch.
- Let the ribbon billow out into one or two soft loops.
- Tuck the other end back into the tree to secure it.
The real beauty of this method is in its randomness. You’ll place these little ribbon tufts all over your tree, filling in any gaps and creating wonderful texture. Angle them in different directions—some diagonally, some more horizontally—to build up a rich, layered effect. This is the real secret to making a tree look effortlessly full and luxurious with ribbon.
Adding Designer Flourishes with Bows and Layers
Once your main ribbons are woven perfectly through the tree, it’s time to add those final touches that scream 'designer'. This is where we go beyond simple draping and get into the art of creating stunning focal points with handmade bows and clever layers. It's these flourishes that make a tree feel truly special and uniquely yours.
Large, luxurious bows are fantastic for adding impact and filling any gaps you might have missed. Think of them as punctuation marks for your design, drawing the eye to certain spots or even acting as mini tree toppers on the lower branches. While you can buy them ready-made, there’s nothing quite like crafting your own to get a perfect match for your ribbon theme.
Crafting the Perfect Tree Bow
Making a beautiful, multi-looped bow is much easier than it looks, especially if you're using wired ribbon. The secret is all in the technique – a simple pinch-and-twist motion is what creates those professional-looking results every single time.
Here’s a straightforward method that I use for a full, classic bow:
- Leave a tail. Start by leaving a good length of ribbon for one of the tails, then form your first loop.
- Pinch and twist. This is the crucial bit! Pinch the ribbon tightly where the loop meets the tail. Now, give it a half-twist. This ensures the “pretty” side of the ribbon is always facing outwards.
- Make another loop. Create a second loop on the opposite side, bring it back to the centre, and pinch it into your hand. Twist again.
- Keep building. Continue adding loops, one on each side, until you have the fullness you’re after.
- Secure it. When you’re happy with the size, take a small piece of floral wire and wrap it tightly around the pinched centre to hold all the loops. Leave the wire ends long so you can easily wrap it around a branch to attach the bow.
For a truly stunning finish, you can find a wonderful selection of handmade bows or all the materials you’ll need to make your own and complement any decorating style.
The Art of Layering Ribbons
Layering is another one of those professional tricks that adds incredible depth and texture when you’re decorating with ribbon. It simply means using two or more different ribbons together to create a richer, more complex look. The magic happens in the contrast of colours, patterns, and widths.
Layering isn’t just about holding two ribbons together and treating them as one. The real impact comes from applying them separately, giving each ribbon its own path while letting them interact with each other.
For instance, you could start with a wide, 4-inch solid velvet ribbon as your base, creating big, soft billows. Afterwards, you can go back and weave a narrower, 2.5-inch glittering mesh ribbon right alongside it. The mesh can follow the velvet's path for a bit, then criss-cross over it, creating this wonderful, dynamic interplay of textures.
This method makes the tree feel incredibly full and luxurious, almost like it’s overflowing with detail. It’s these thoughtful final touches that take a nicely decorated tree and turn it into something truly unforgettable.
Got Questions About Decorating With Ribbon?
Even when you think you have a solid plan, it’s completely normal to hit a snag during the decorating process. You might pause and wonder if you’re doing things in the right order, or realise you’re not sure if you bought enough supplies. I get these questions all the time, so let's walk through some of the most common ones to keep you decorating with confidence.
How Much Ribbon Do I Need for a 7ft Tree?
This is easily the question I hear most often, and getting it wrong can stop your decorating right in its tracks. A really solid rule of thumb is to have at least 3 metres (that's about 10 feet) of ribbon for every vertical foot of your Christmas tree.
So, for a standard 7-foot tree, you should start with a bare minimum of 21 metres (roughly 70 feet). But that's just a starting point. If you’re like me and love a really full, cascading look with lots of deep billows, I’d strongly recommend getting closer to 27 metres (90 feet).
My personal advice? Always, always buy one more spool than you think you'll need. It’s so much better to have a little extra for wrapping presents than to run out halfway through and have to hunt down a matching roll.
Should I Put the Ribbon or the Lights on First?
Always, always, always put the lights on the tree first. I can't stress this enough! Think of your lights as the foundation of your entire design. They’re what create that magical glow from within the tree.
Putting the ribbon on after the lights allows it to drape beautifully over the branches, where it will be backlit for a stunning sense of depth and warmth. If you try to string lights after the ribbon is on, you're just asking for a frustrating, tangled mess that will probably ruin your lovely ribbon work.
What’s the Best Ribbon for a Beginner?
If you're just starting out with ribbon on your Christmas tree, your absolute best friend is wired ribbon. Honestly, it's a game-changer. The thin, flexible wire tucked into the edges gives you fantastic control, making it so much easier to shape loops, bows, and cascades that actually hold their form.
Non-wired ribbons, like satin, can look beautiful but they have a tendency to droop and are much harder to manipulate into specific shapes. I'd suggest starting with a wider wired ribbon, somewhere between 2.5 and 4 inches. It’s incredibly forgiving and makes getting that full, luxurious look a lot simpler.
How Should I Store My Ribbon for Next Year?
Proper storage is the key to preventing creases and annoying tangles, making sure your beautiful ribbon is ready to go next Christmas. Whatever you do, don't just stuff it in a bag!
The best method is to carefully wind the ribbon back onto its original spool. If you've already tossed the spool, no worries – an empty paper towel tube or even a flat piece of cardboard works just as well. Gently wrap the ribbon around your chosen core and secure the end with a pin or a small clip. This keeps it neat, tidy, and crease-free for your next decorating adventure.
For all your decorating needs, from elegant wired ribbons to beautiful handmade bows, Ribbons4u Ltd has a vast collection to bring your festive vision to life. Find the perfect style for your tree at https://ribbonsforyou.com.


 Facebook
 Twitter
 Pinterest